Because the formula in this post does what I said the technique in
Automatic, pixel-perfect shadow contrasting does, I had trouble coming up with a way to describe this newer, more advanced, and yet more efficient (by a factor of three, in fact) method for contrasting and sharpening details in shadowy parts of an image, having pumped up the former method so high. It truly is automatic and pixel-perfect, and comparing it to the method described in the aforementioned post is kind of embarrassing, there's just that much difference.
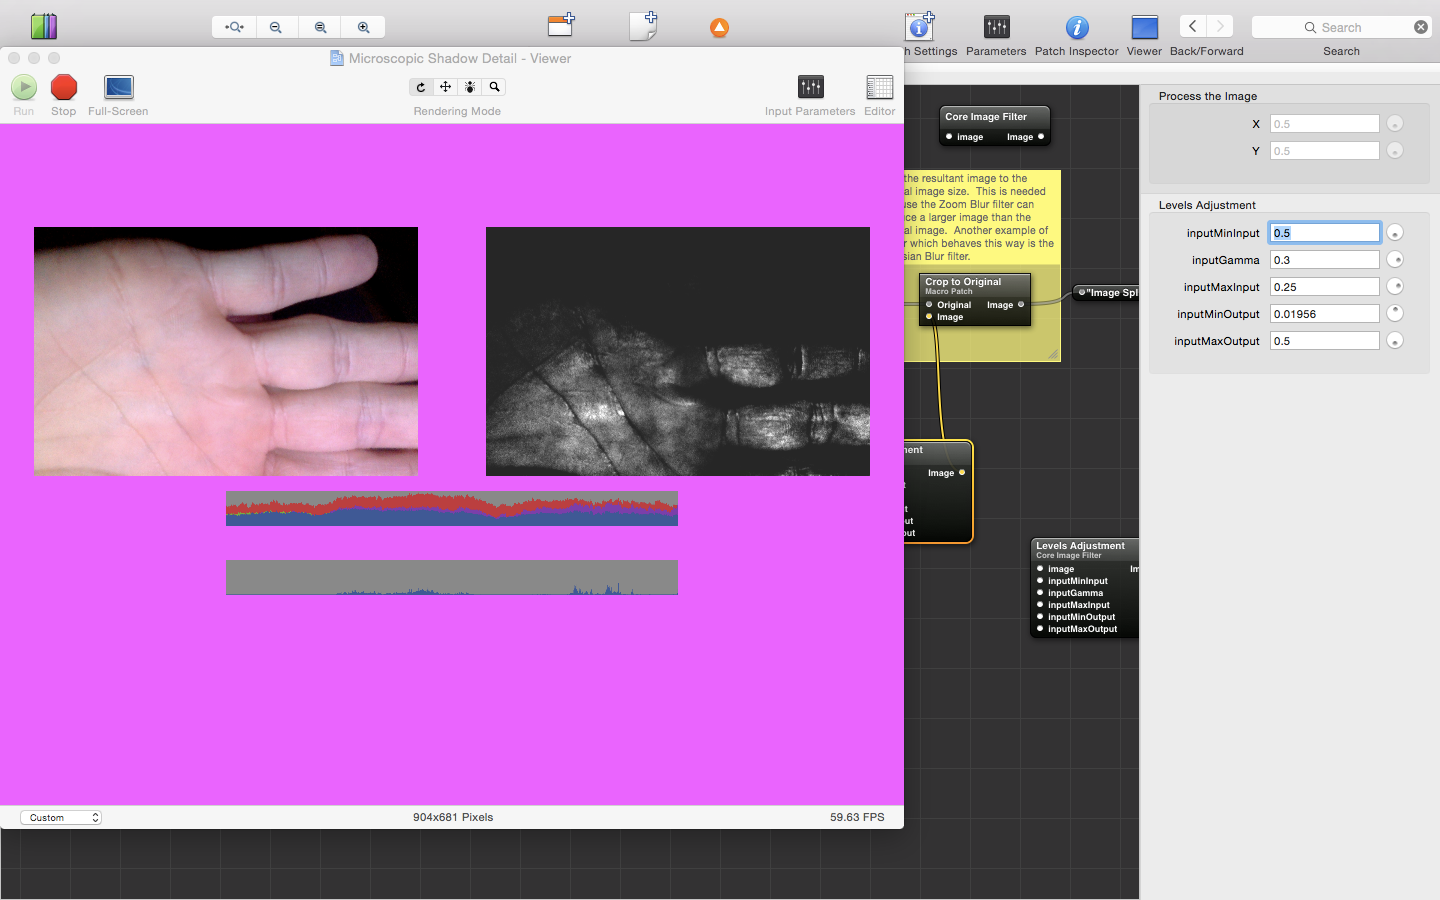
It is so sharp, in fact, that you can see your fingerprints as if you were looking through a magnifying glass:
 |
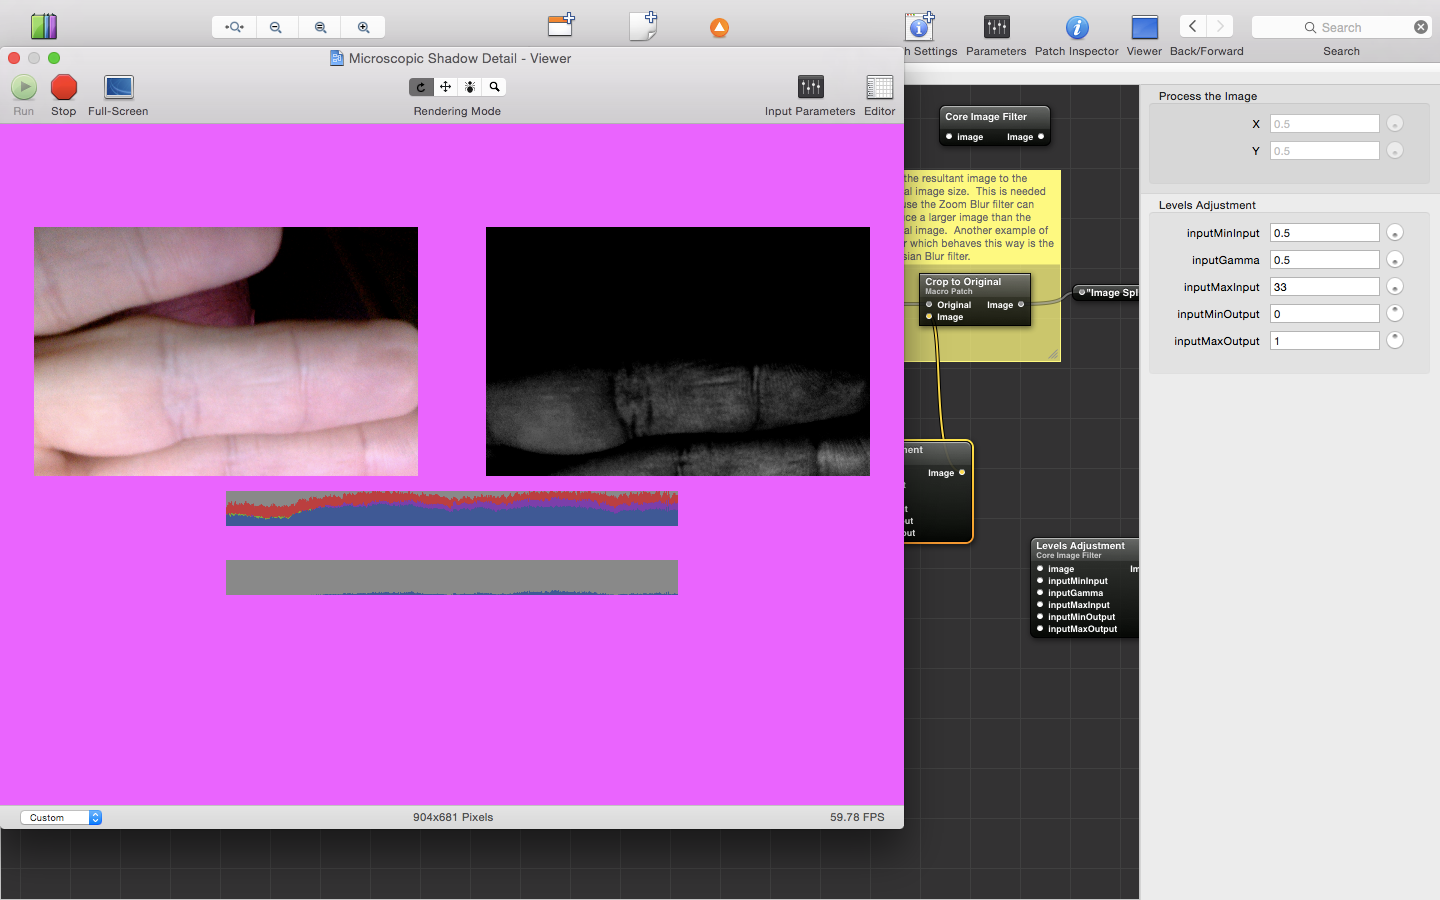 |
| Filters with microscopic contrasting will be used to find cloaked demons; the contrast between the peaks and valleys of fingerprint ridges is low, as is the contrast between a cloaked demon and its natural surroundings | Contrast so sharp that the ridges of your fingerprints can be seen |
And, now, it will be available on your iPhone:
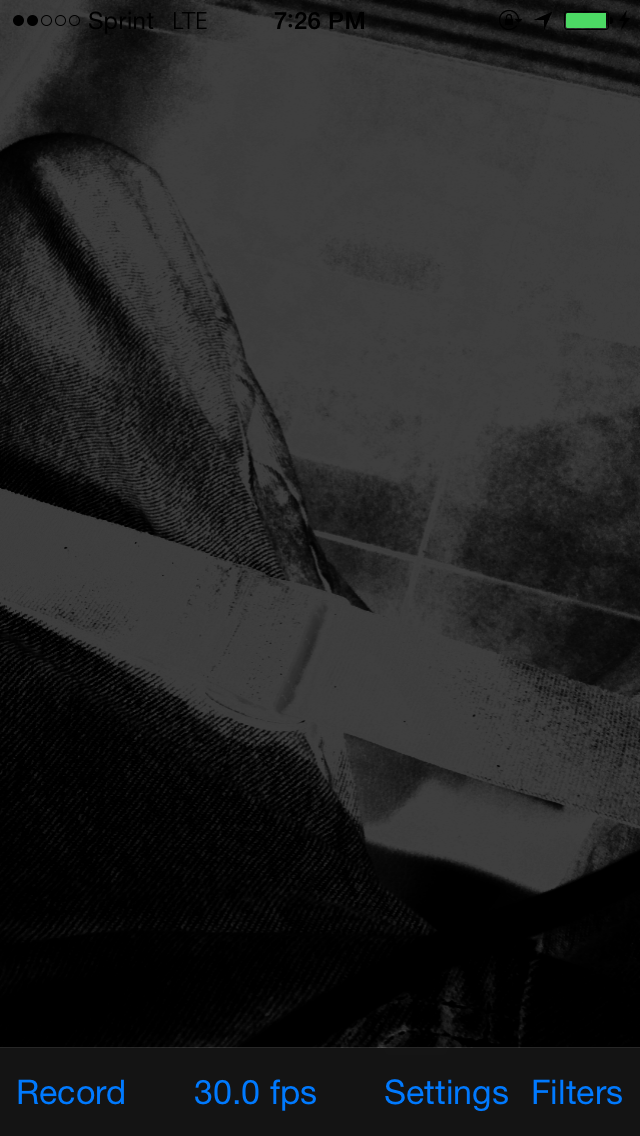 |
| A new filter developed for the upcoming iPhone camera demon-finder app creates near-microscopic detail renditions of black regions of an image, allowing for the counting of threads in jeans, while simultaneously highlighting every dirty spot on tile |
Let me illustrate: the images below are still frames from video made without the new formula applied (i.e., the original) and then with. In them, I'm wearing a black shirt. In the original, it looks just like that—a black shirt; but, in the formula-enhanced version, you can see the wrinkles, clearly identify all the specs of dust you can't even see with your eyes, and you can count the number of stitches in the collar:
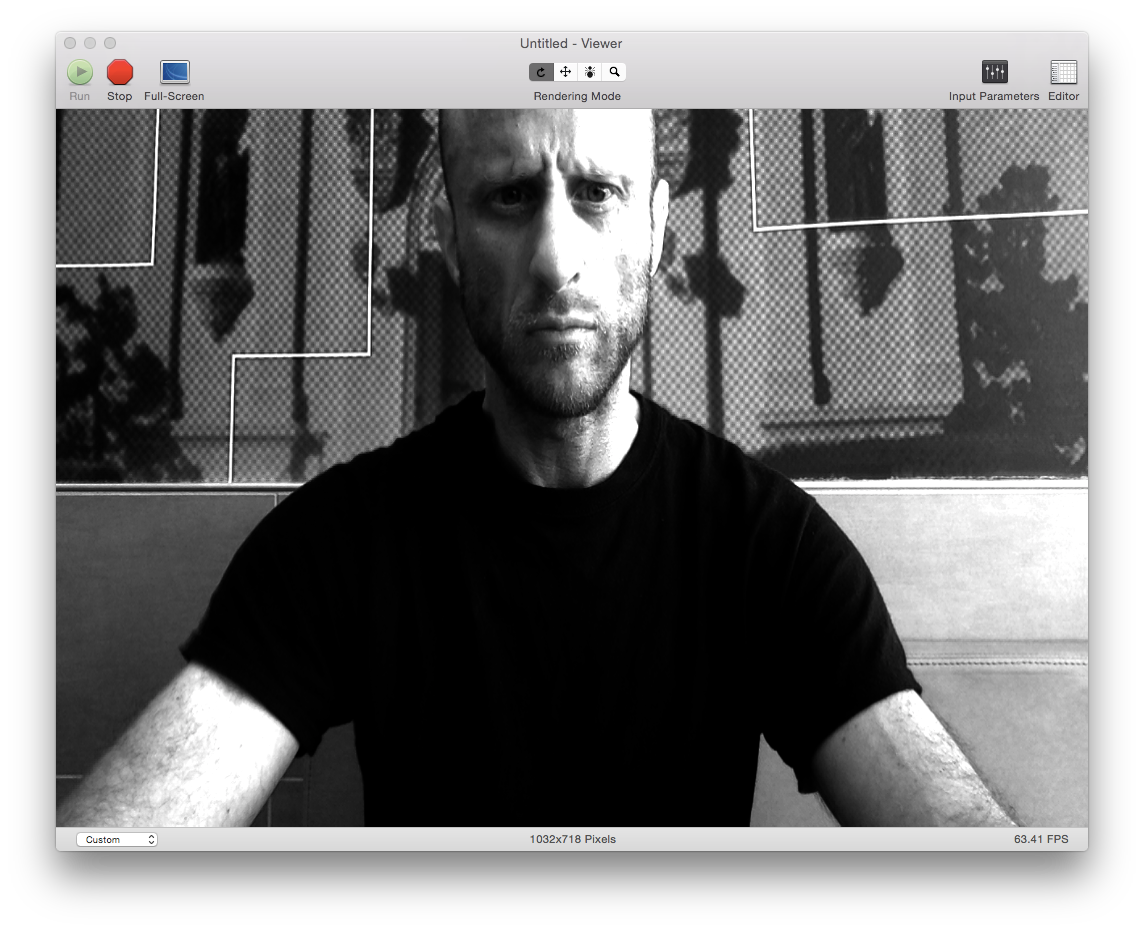 | 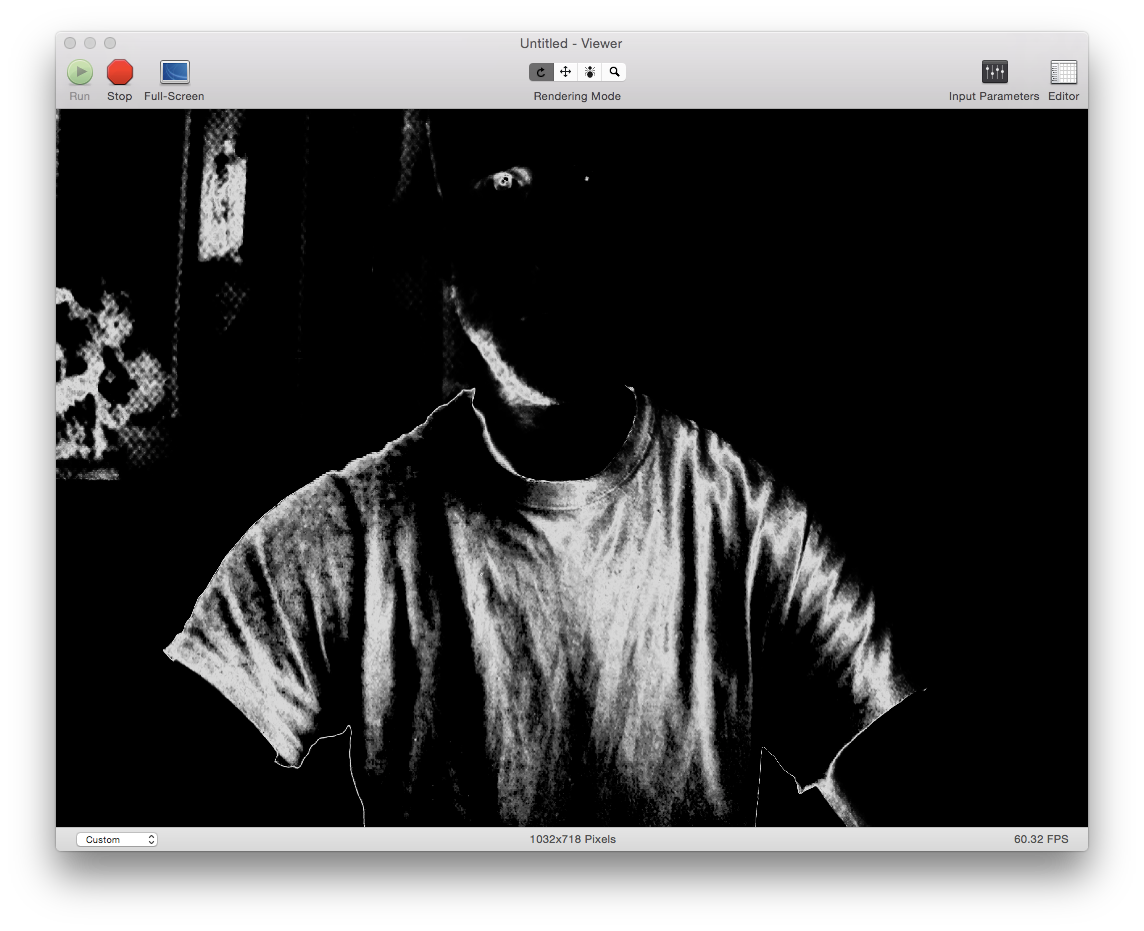 |
| My black shirt looks clean and well-pressed in this unaltered video still frame... | ...but, in the formula-enhanced version, you can see that it's actually dirty and wrinkled |
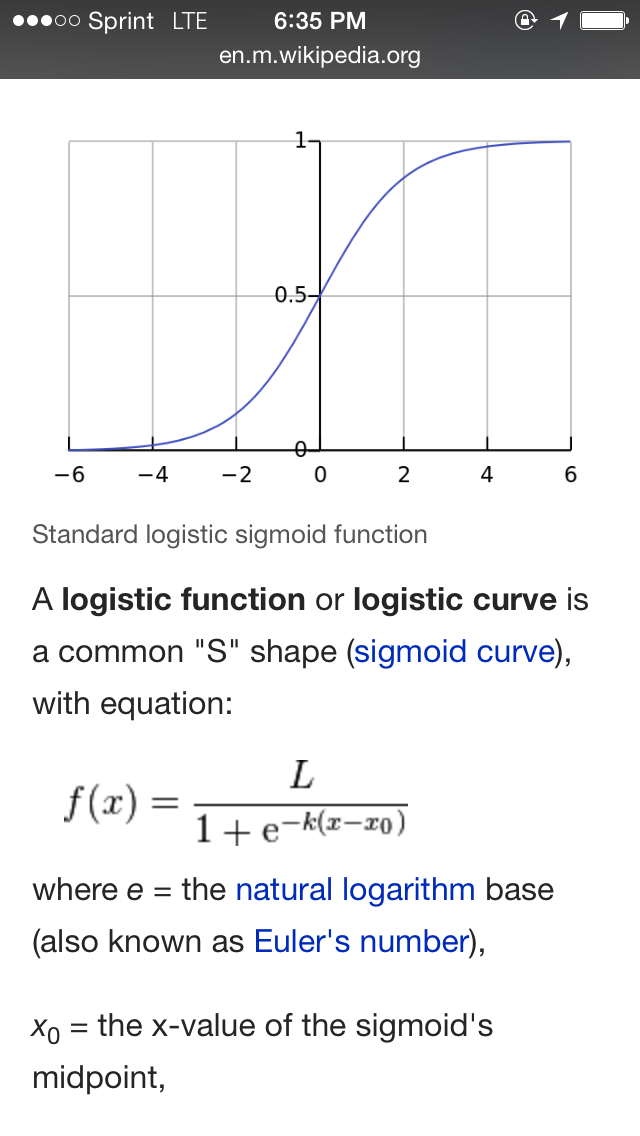
The formula is a standard logistic sigmoid function (or S-curve):
 |
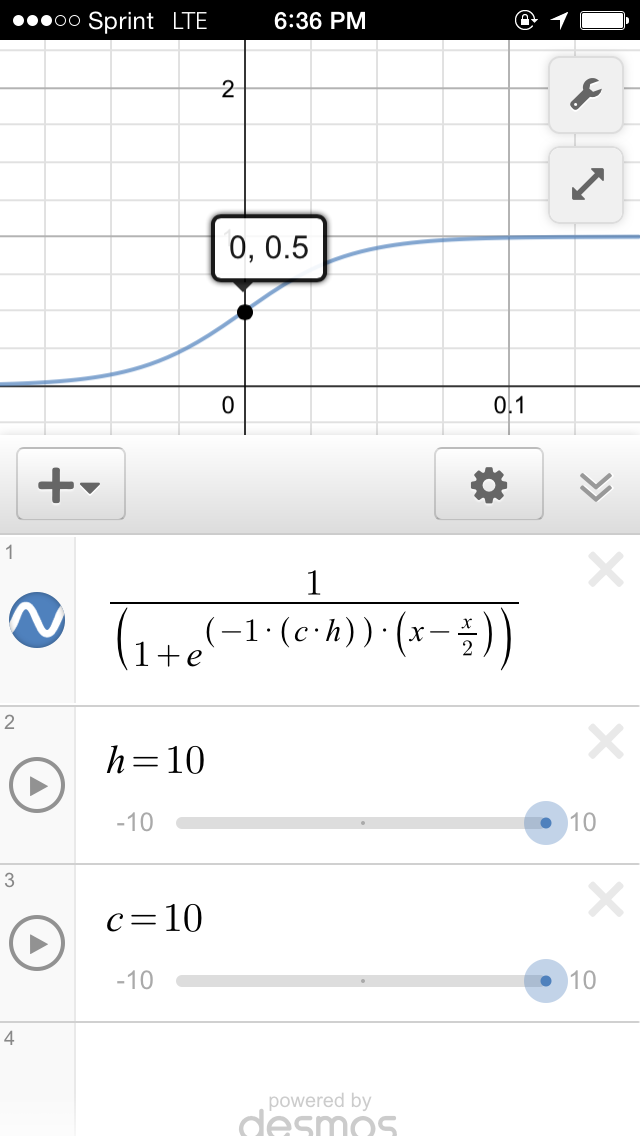 |
| The basics of a sigmoid function, which, when applied to images, sets the black-to-mid-gray value range to mid-gray to white, are explained on Wikipedia | The formula entered into my graphing calculator, which allows me to experiment with different values to determine specific per-value effects of applying it to an image |
The example above used a technique with brighten dark values with their inverse, and enhances contrast in the brights be darkening them with their inverse. The result is much, much more detail, but loss of realism.
 |
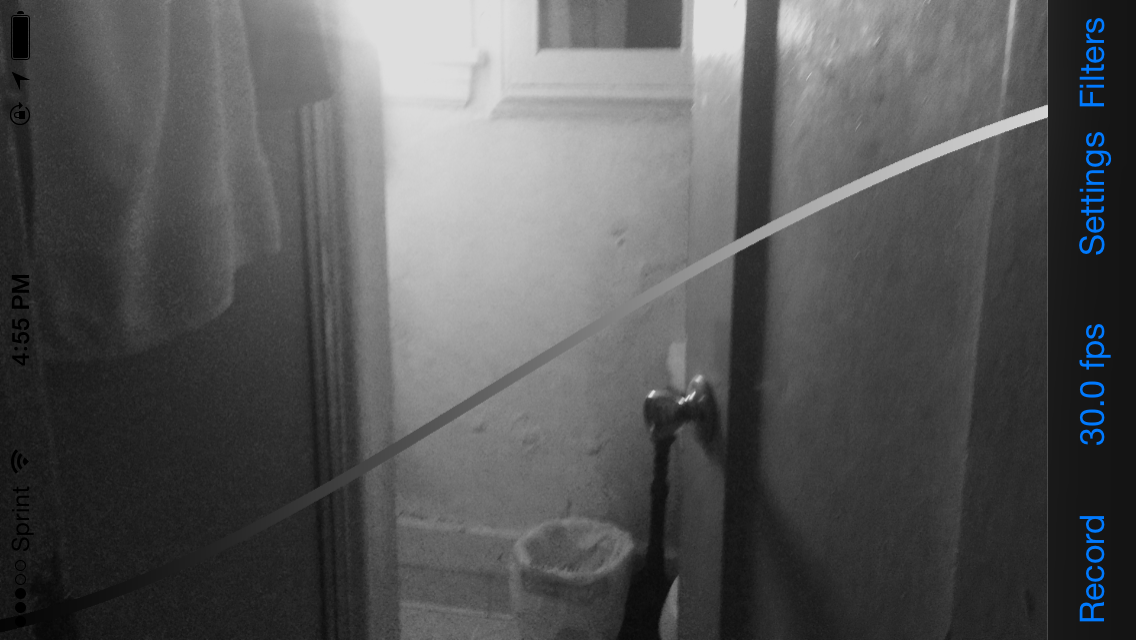 |
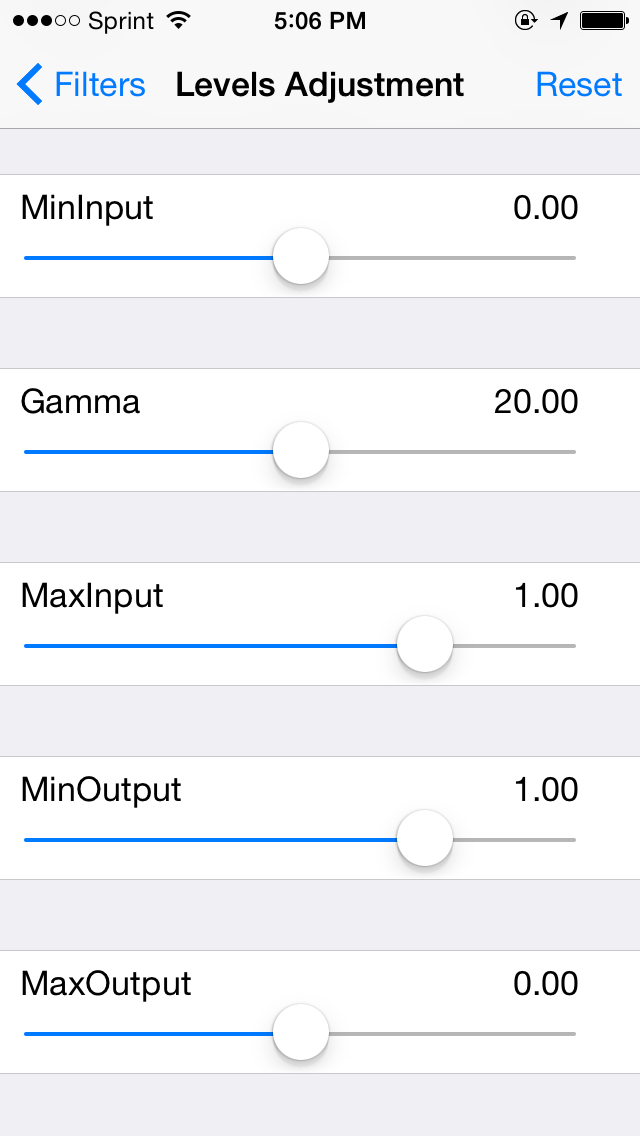
| Curve adjustments are made via sliders, which not only change the curve variables, but also the curve overlay on the video preview screen | The latest test build of the iPhone app overlays whatever curve you specify via a given function, and is colored with a black-and-white gradient, which renders in direct proportion to the amount of each level of gray in the curve |
Here's a more realistic example, then, without inverse contrast-mapping applied:
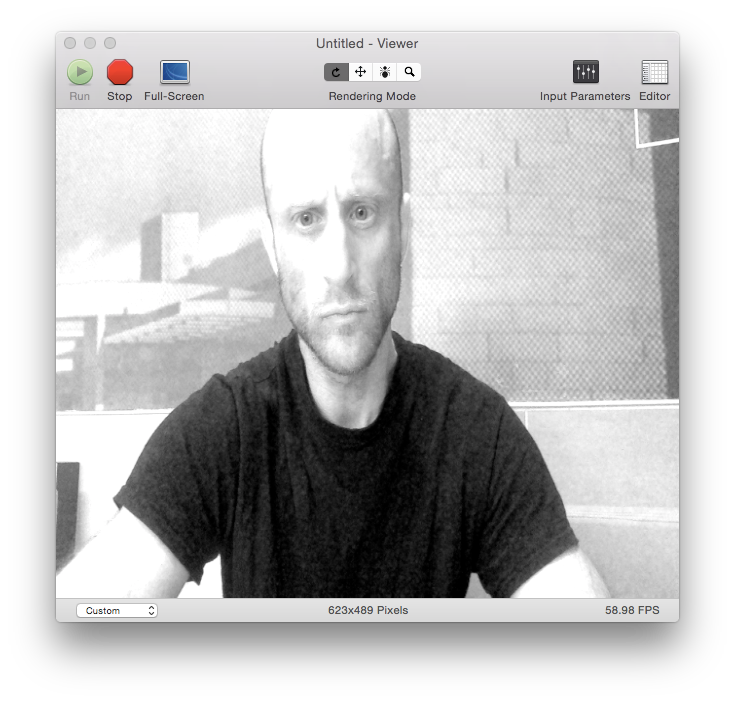 |
| Another original video still frame |
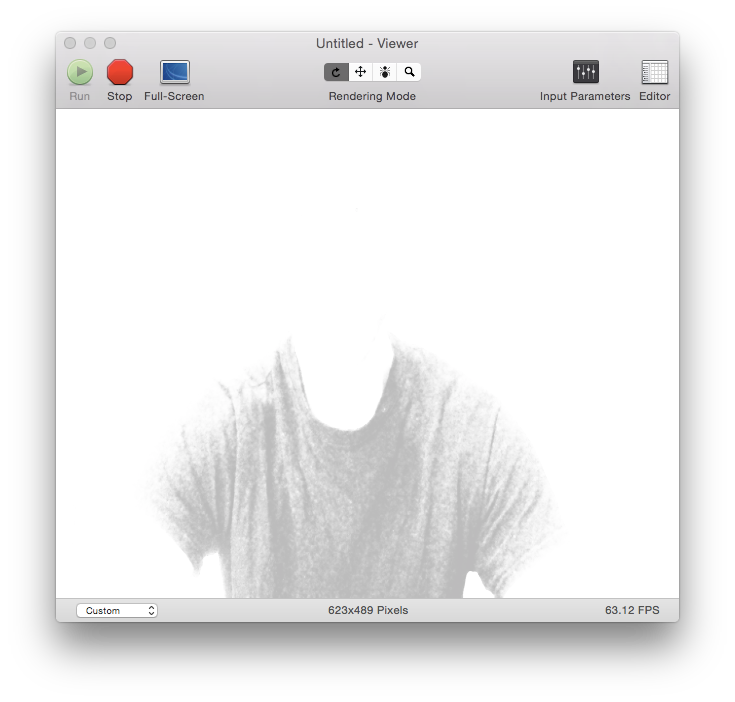 |
| The formula replaces the black-to-mid-gray value range from mid-gray to white; every value that was above mid-gray before the formula was applied is replaced with white (there is no more black in the image) |
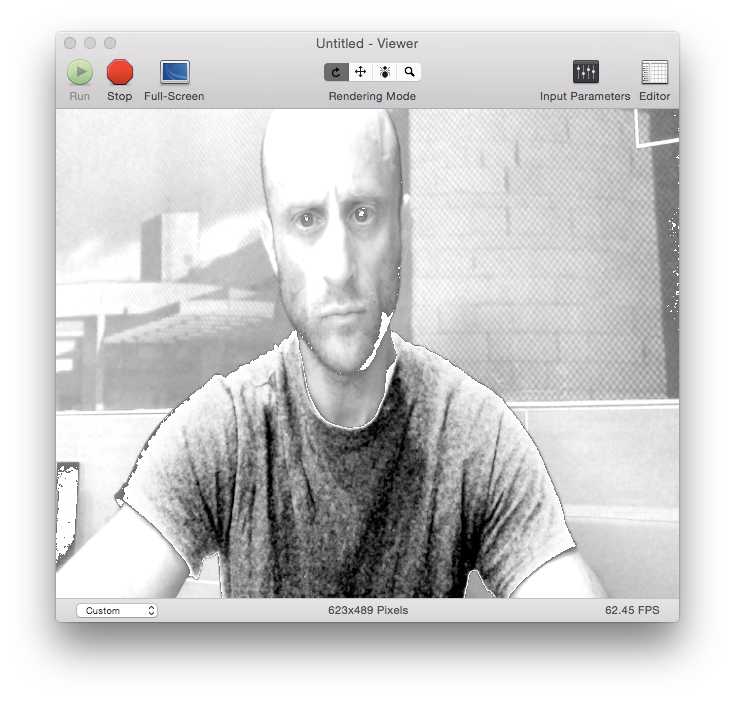 |
| The values that were in the black-to-mid-gray value range that were subsequently elevated by a factor of two by the formula are then standardized to the black-to-white color range, thereby adding the full spectrum of color (black-to-white) to the shirt (the original values were placed around the altered portion of the image for pseudo-realism) |
Applying the formula to live video using Core Image (or OpenGLSL) is easier than the setup required to apply the contrasting technique in the previous post:
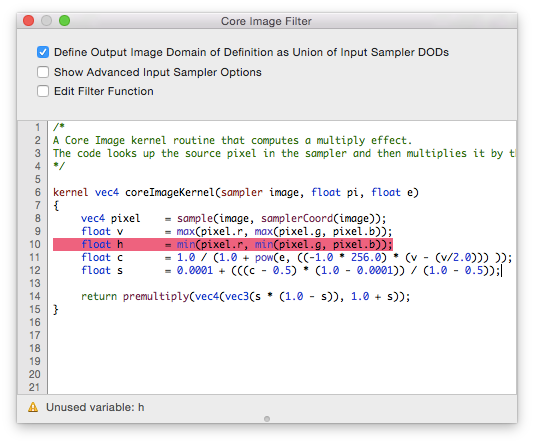 |
| This technique produces microscopic detail in dark regions of live video three times faster than the previous technique |
As you can see from the code below, this technique does not require processor-intensive image minimum and maximum components values to do its work; it's a one-pass, highly efficient operation.
So what?
Here's what: many of the demons that will be found using the image-processing filters will be very small in size, as well as in the dark. In order to see them, and see them well enough to identify them, this formula is essential.
I have (or had) thousands of images of demons in which the demons were so small and the image so dark, I forwent posting them. Had I this method of processing those images, things might have been different. They certainly will be going forward, and I hope that from the end-users of the product, too.


