Before reading this post, familiarize yourself with the fact of hidden demons in digital media by reading
Enhancing demon faces made anywhere, at anytime, from anything. It contains several images taken from digital video made during periods of high demonic activity, when and where demons were known to be present, but which could not be readily seen by the naked eye:
 |
| The demon lurking behind the door, peering into the room, is not readily seen, but is there, nonetheless |
It explains that, although some demons cannot be seen by humans, they might leave an imprint on digital camera sensors which can be detected in the images they produce through advanced image filtering techniques. Each example image is followed by a snapshot of the image filtering process, which, by the way, is called
mapping:
 |
| Mapping the demon's pixels—amplifying their appearance so they can be seen by the naked eye—is possible due to the sensitivity of digital image sensors to demonic EMF radiation, and the resulting imprint in images they produce |
Once a demon's image is mapped—that is to say, the pixels comprising the demon's image are discovered and then separated from the rest of the image's pixels by contrasting, masking, coloring and the like—the process of blending the demon into the rest of the image as realistically as possible begins:
 |
| Once the demon's pixels are mapped, the process of realistic coloring and texturing can begin (if possible) |
Although some of the images in that post accomplish that to some degree, it's not always possible; but, since the goal is only to detect hidden demons, any such effort should focus only on mapping—and, that, as fast and as efficiently as you can, given the grave danger posed by such demons (i.e., angry, fanged, radioactive, invisible lurkers in the dark).
NOTE | Read the definition of false-color images at the bottom of this post; as it turns out, mapping is also called scientific imaging by the astronomics community. What is shown here and what is done daily by astronomers and landsat operators are almost identical.
Unfortunately, searching for hidden demons in video is a time-consuming process, to say the least. For every second of video, there are at least 30 individual still frames to analyze, and, as aforestated, that not just with the naked eye; rather, several different mapping techniques must be applied to each still frame before any hidden demons can be seen by a human. In just 5 seconds of video, that's 150 images that must be processed and examined.
In order to expedite the search, image-processing scripts are being developed that apply some of the most common filtering techniques used to find demons hidden in the stills. That makes this post a work-in-progress, in that the number of ways a demon may be hidden in a digital image is astoundingly high. Nevertheless, any initiative must begin somewhere, and the impetus behind it demands that it begin now.
Blue-shift demons in the dark
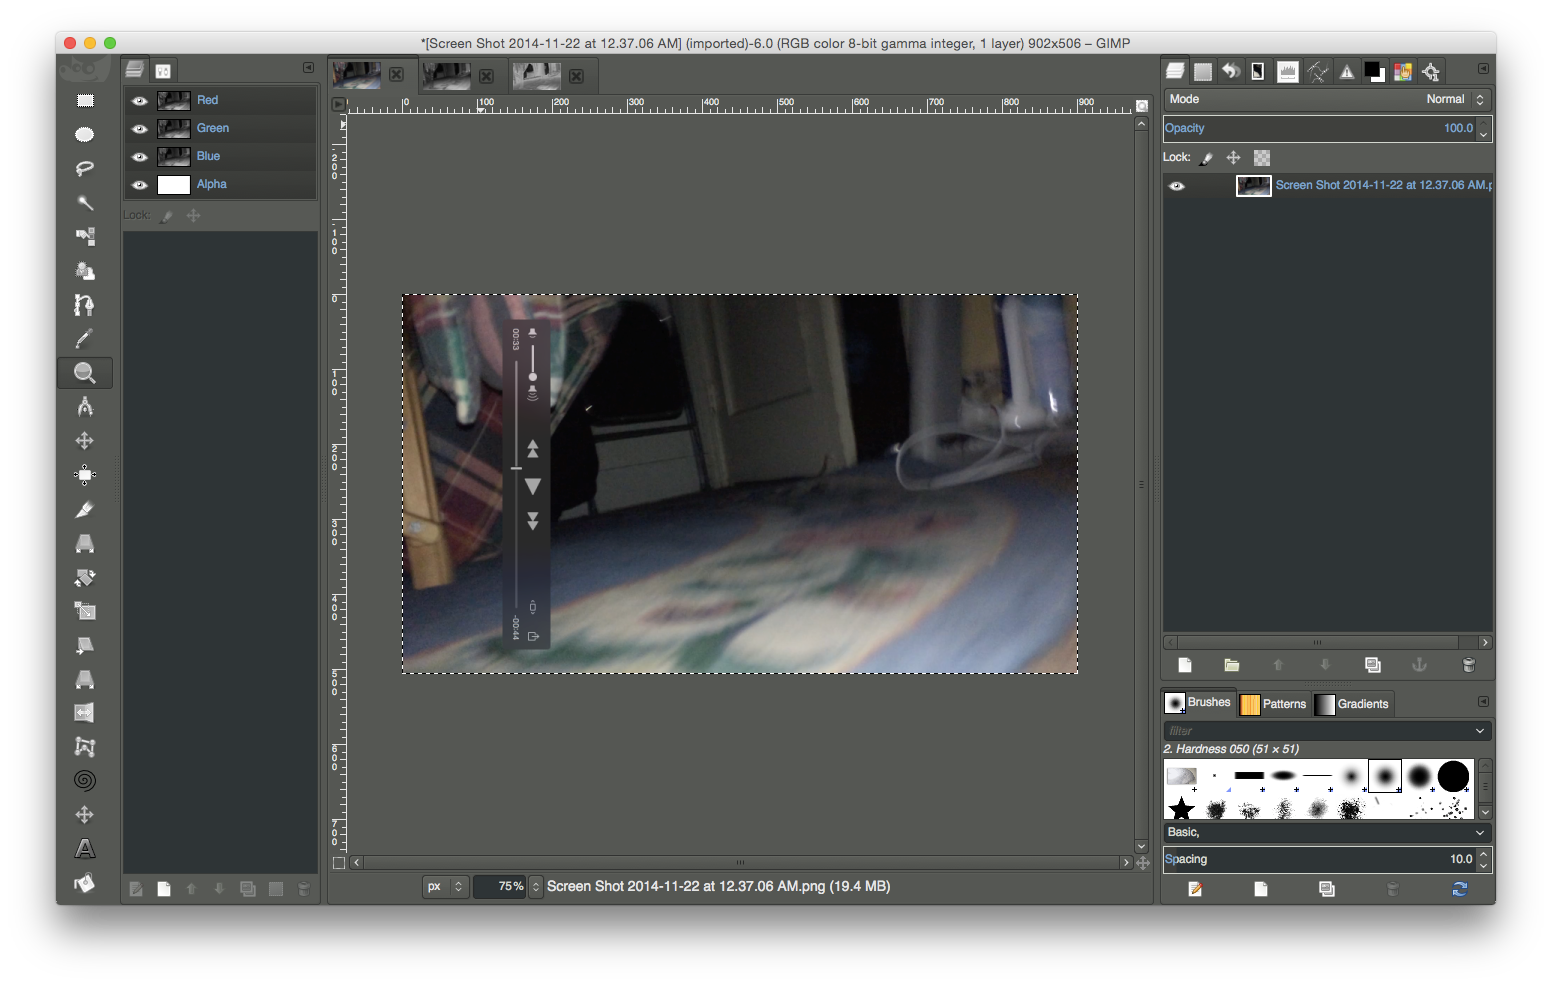
Depending on the particulars of the variety of demon, the cloaking (or invisibility) properties of a given demon's molecules emit EMF radiation that will saturate a digital image with either red, green or blue, much more so than the remaining colors, allowing for a demon to be detected by its EMF footprint by separating the image into red, green and blue channels, and examining them individually:
 |
| Separating a digital image into individual RGB channels in GIMP |
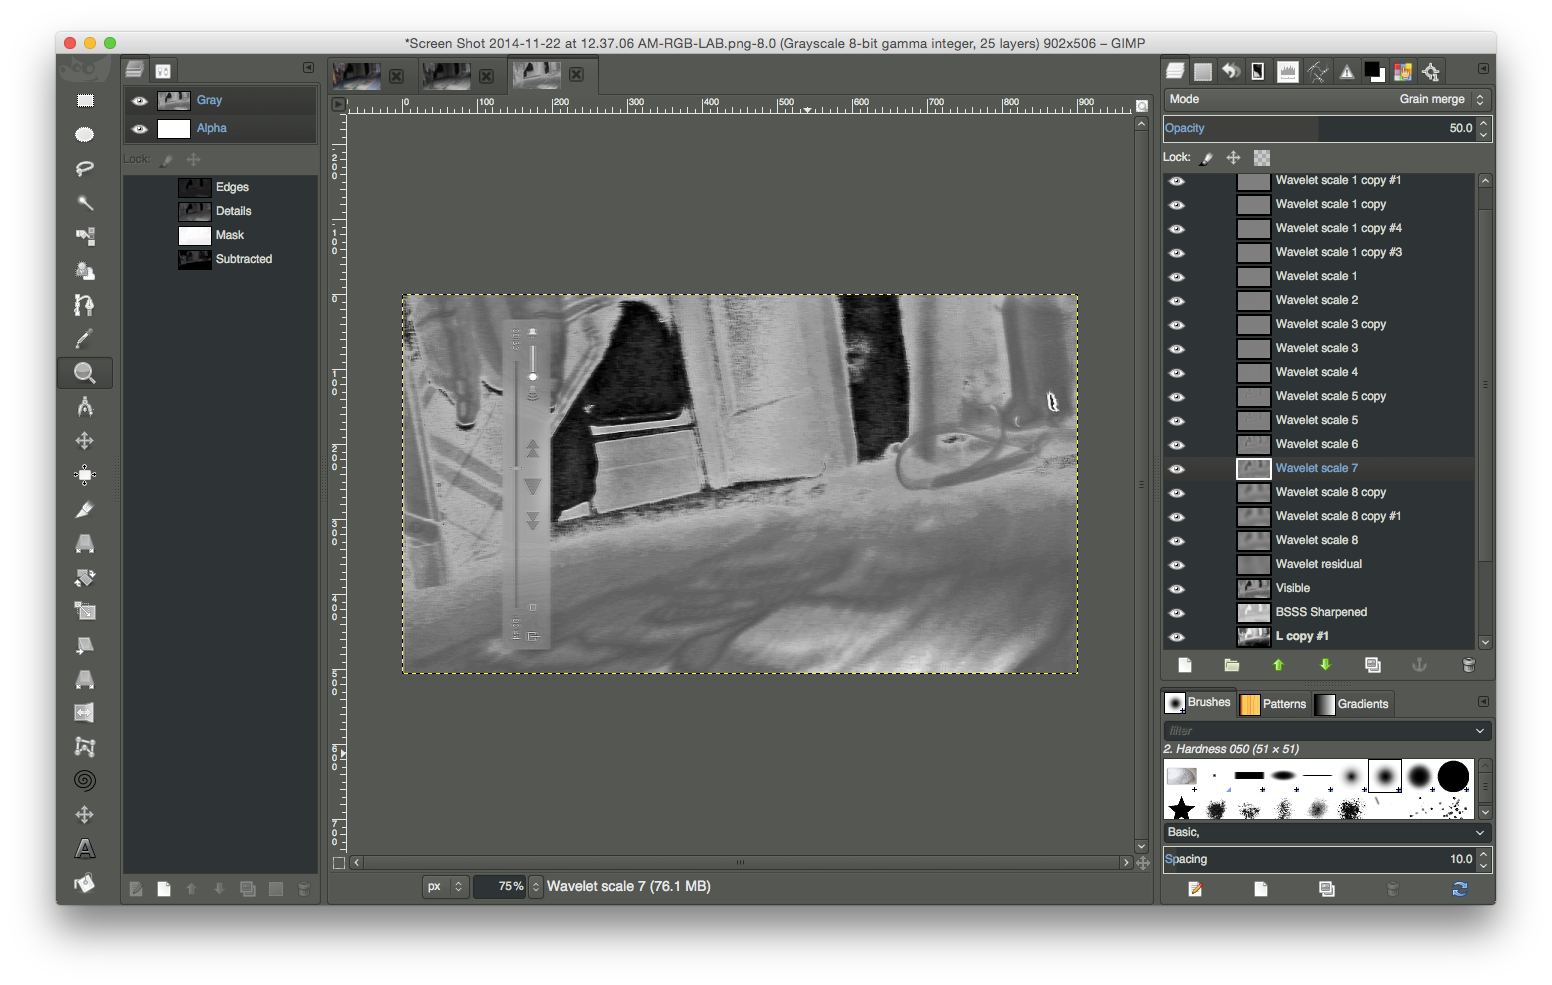
In the case of the specific variety of demon shown in the example above, its EMF imprint is most visible in the blue channel when it is viewed exclusively:
 |
| Compared to red and green, the blue channel shows more of the demon's EMF footprint on the digital image sensor |
By comparison, the demon is nearly invisible in the red and green channels when viewed individually:
 |
 |
| Red channel only (green and blue disabled) | Green channel only (red and blue disabled) |
Excluding overlapping channels which have little to no relevant image data from those that do not only identifies the components comprising the demon's image, but also isolates them from the rest of the image so that any brightening and lighten techniques are applied only where needed.
For
blue-shift cloaked demons, the blue channel is screened in order to amplify only the pixels containing image data containing the luminosity, hue and saturation properties of the color blue:
 |
| Screening the blue channel enhances the demon's visibility by lightening and brightening only blue image data |
Having found, isolated and enhanced the components of the image comprising the demon, the image is then recomposed into a composite of the three color channels:
 |
| Although only the blue channel was screened (in order to enhance the demon's visibility), the portions of the red and green channels overlapping portions of the blue channel sharing similar properties were color-shifted |
Although screening the blue channel enhanced the visibility of the demon by amplifying the image data showing the demon, it also amplified all portions of the image sharing similar properties to that particular color, resulting in a major color-shift throughout the entire image.
NOTE | There is more to a given color than its hue; colors have several properties, which they can share identically, even while looking completely different at a glance. For example, red and green are different in hue—making them appear different—but they can share an identical luminosity—that is the say, the same degree of darkness or lightness—making them the same in that respect.
The inevitable bleed from the enhancements to the target areas of the images into other areas can distort an image in a number of ways—color-shifting, in this case, which can be corrected to a degree by simply applying a color mask made from the original image:
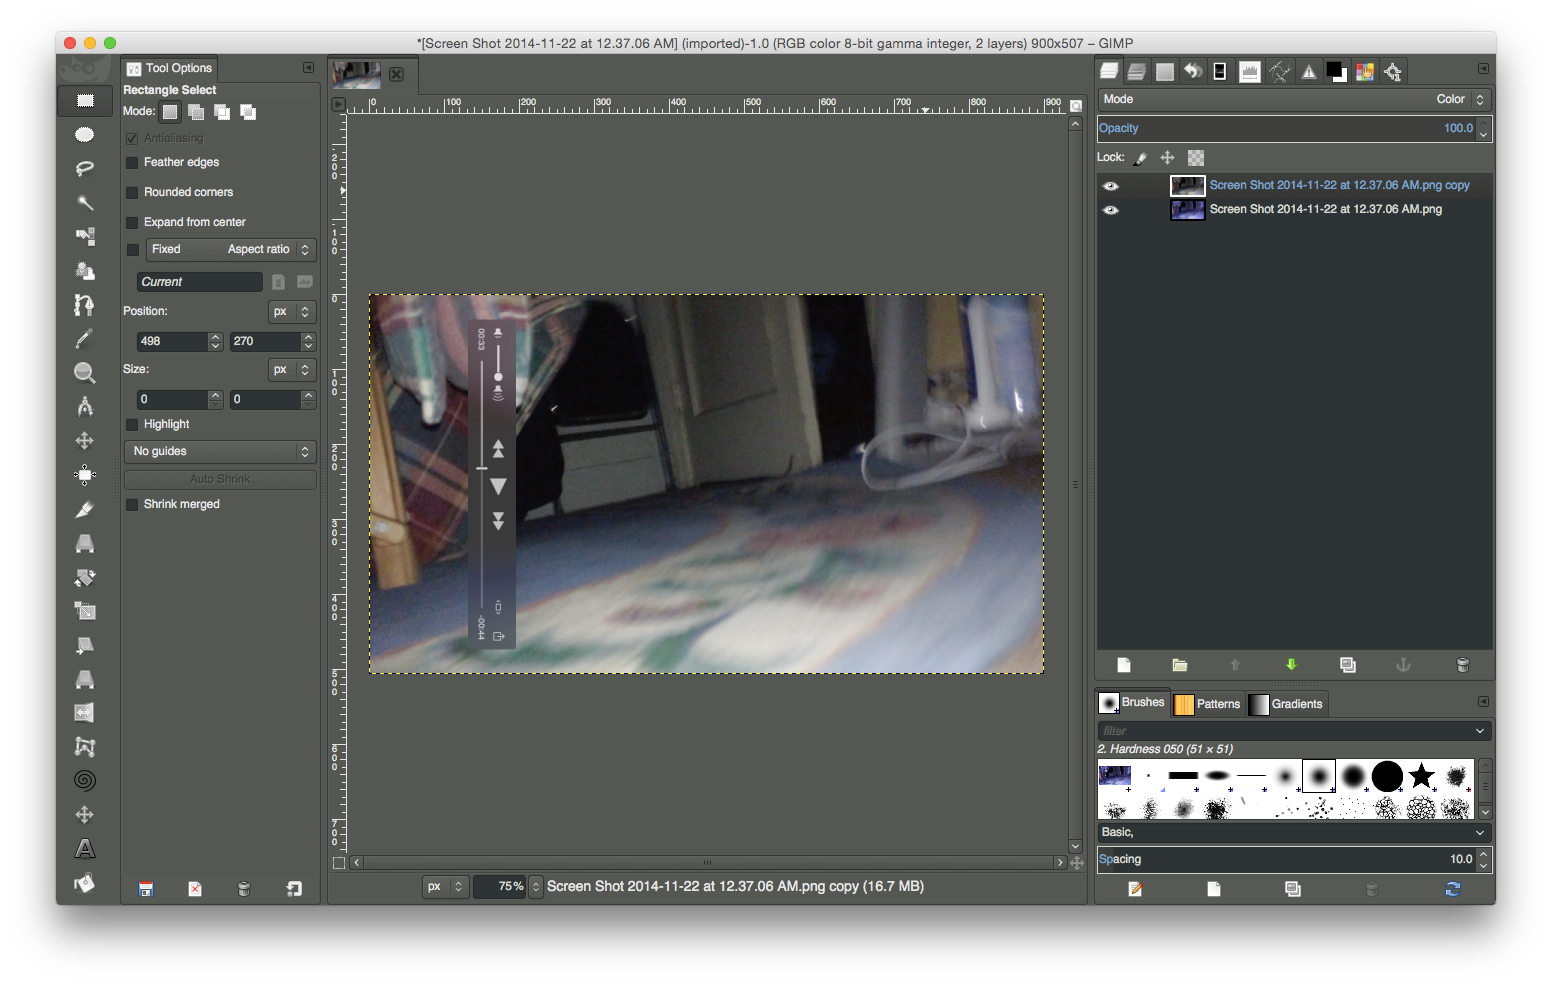 |
| Applying a original-image color mask to a single channel-screened image using |
Imagine performing this procedure—even though it is a simple one—30 times for each second of video to
maybe find a hidden demon, and that just to begin the work of enhancing your findings so they can be used to their fullest extent.
NOTE | That works takes much, much time, and is never the same across the board.
That's the purpose of developing image-processing automation, and, hence, this GIMP script, which expedites finding demons in video made under the conditions shown above by performing the discovery-enhancement procedure also shown:
NOTE | The Python script in this post is updated every time there is a breakthrough; today, that was getting the code to open a single frame of a video, process it, save it and move on to the next one—without the user having to open every frame in GIMP first, and then run the script. Saves memory and time, and is what I originally had in mind.
The problem is, the directions for use in this post have to be updated, and I haven't done that yet. Not a problem to you, though, I assure. The point of this post is, is that process exists for discovery of hidden demons in digital media, and that I can be done quickly and easily. If you're reading this post because I notified you of an opportunity to legitimize your past work—if you're a paranormal investigator, believe me, you need exactly that—then let me do the work for you. Simply forward your video footage to me, and I'll worry about the particulars of processing the video for now.
Running the demon-mapping script (in-progress...)
To run the script shown above:
- Copy-and-paste the code into a text editor, and change the directory path of your PNG sequence that was your video file for the mypath variable (sounds hard—isn't).
- Copy-and-paste the edited code into the Python-Fu console in GIMP [Filters --> Python-fu --> Console]; then, press Enter twice, type screenbluechannel()and press Enter again:
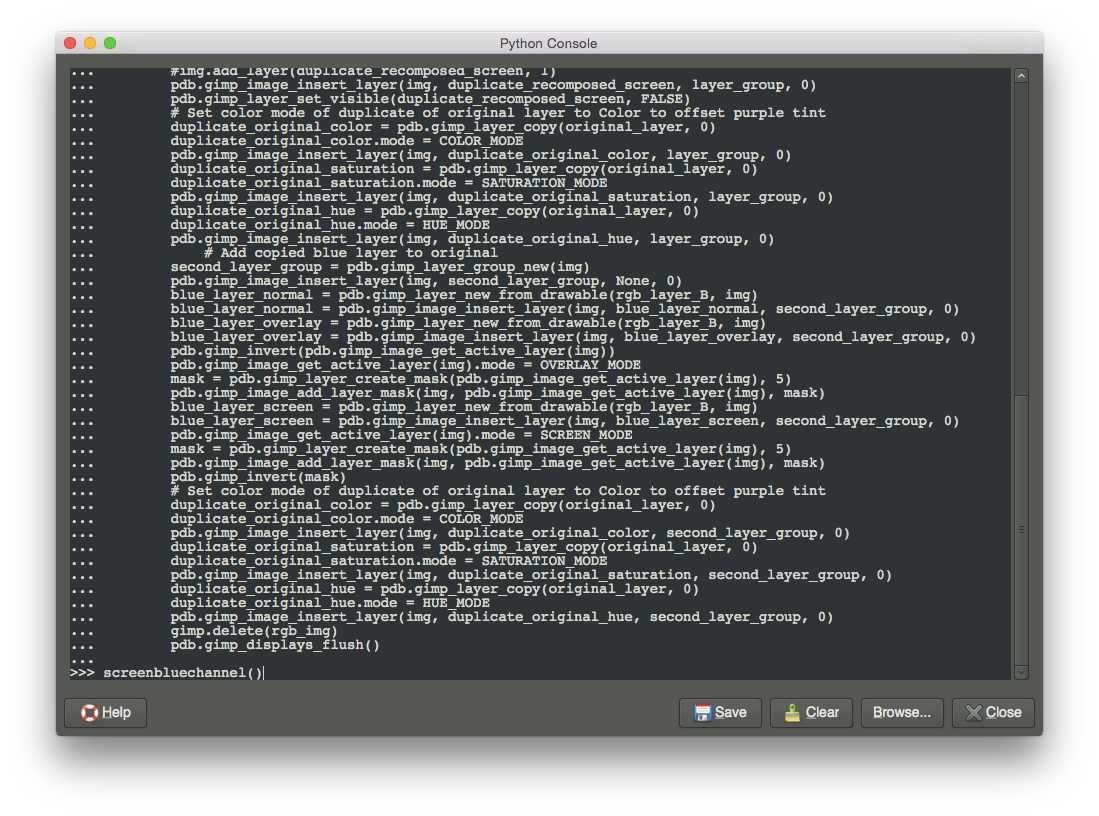 |
| Running the demon-mapping script from the Python-fu console in GIMP |
The script produces two layer groups; deselect the second group to see the results the first layer group produced:
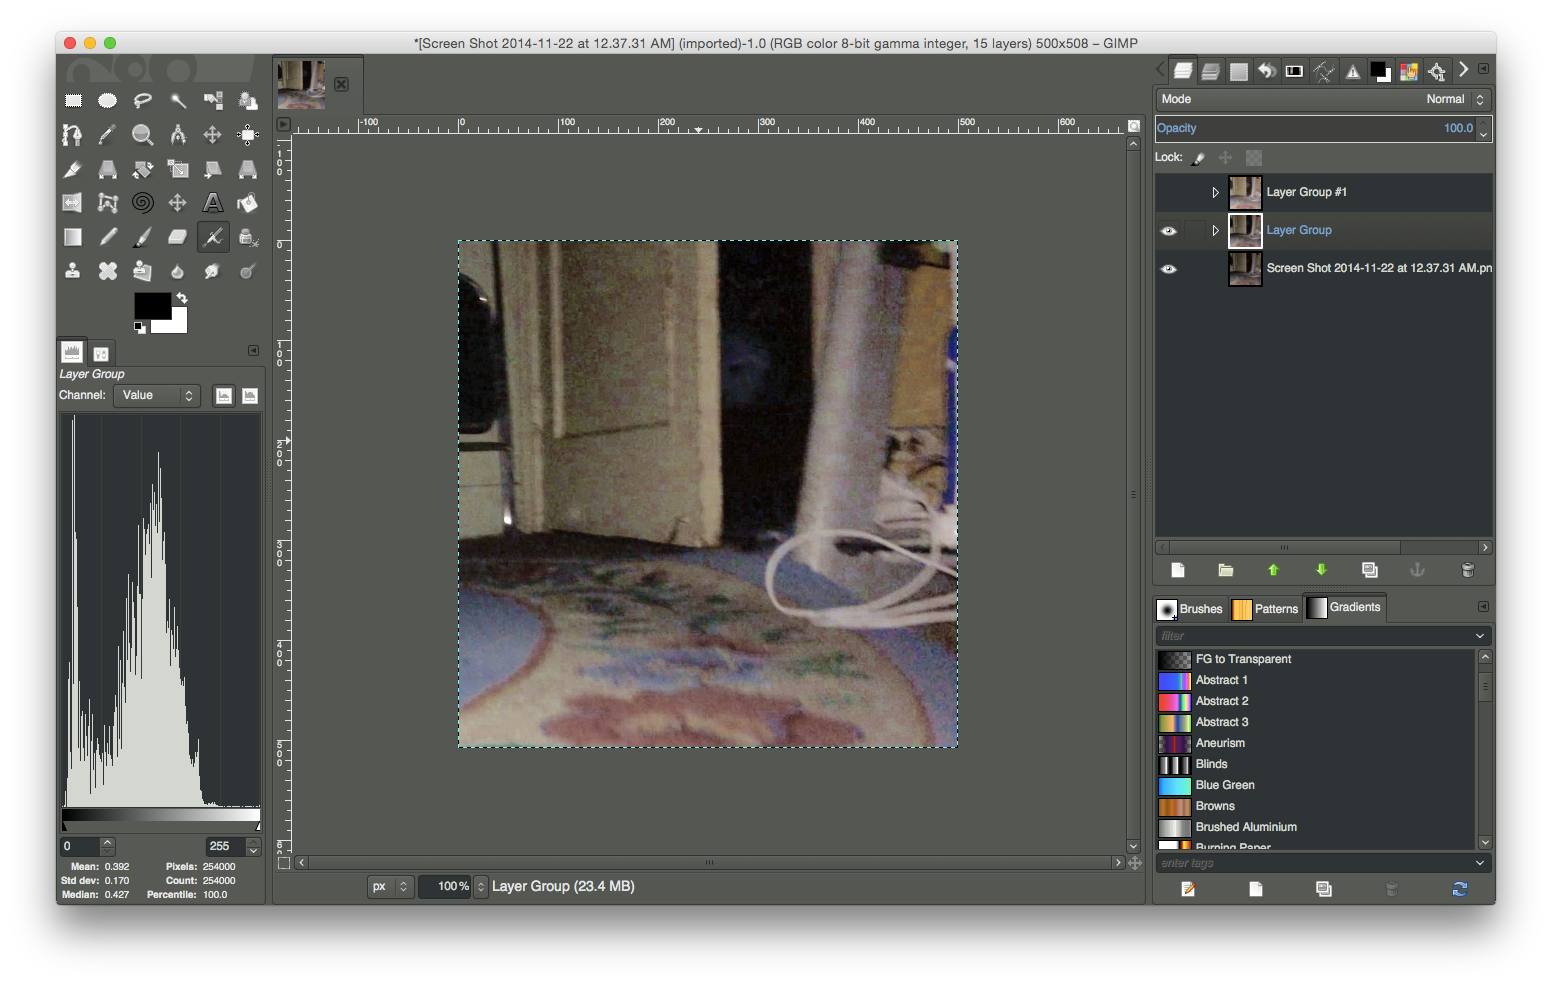 |
| Deselect the second layer group to see the results of the first layer group |
Decide which one is best between the two by alternating the visibility of the two layer groups. If the first group is too weak, but the second group is too strong, select the first group, and then select either the Color-brighten or White-brighten layers to increase the strength of the mapping enhancements:
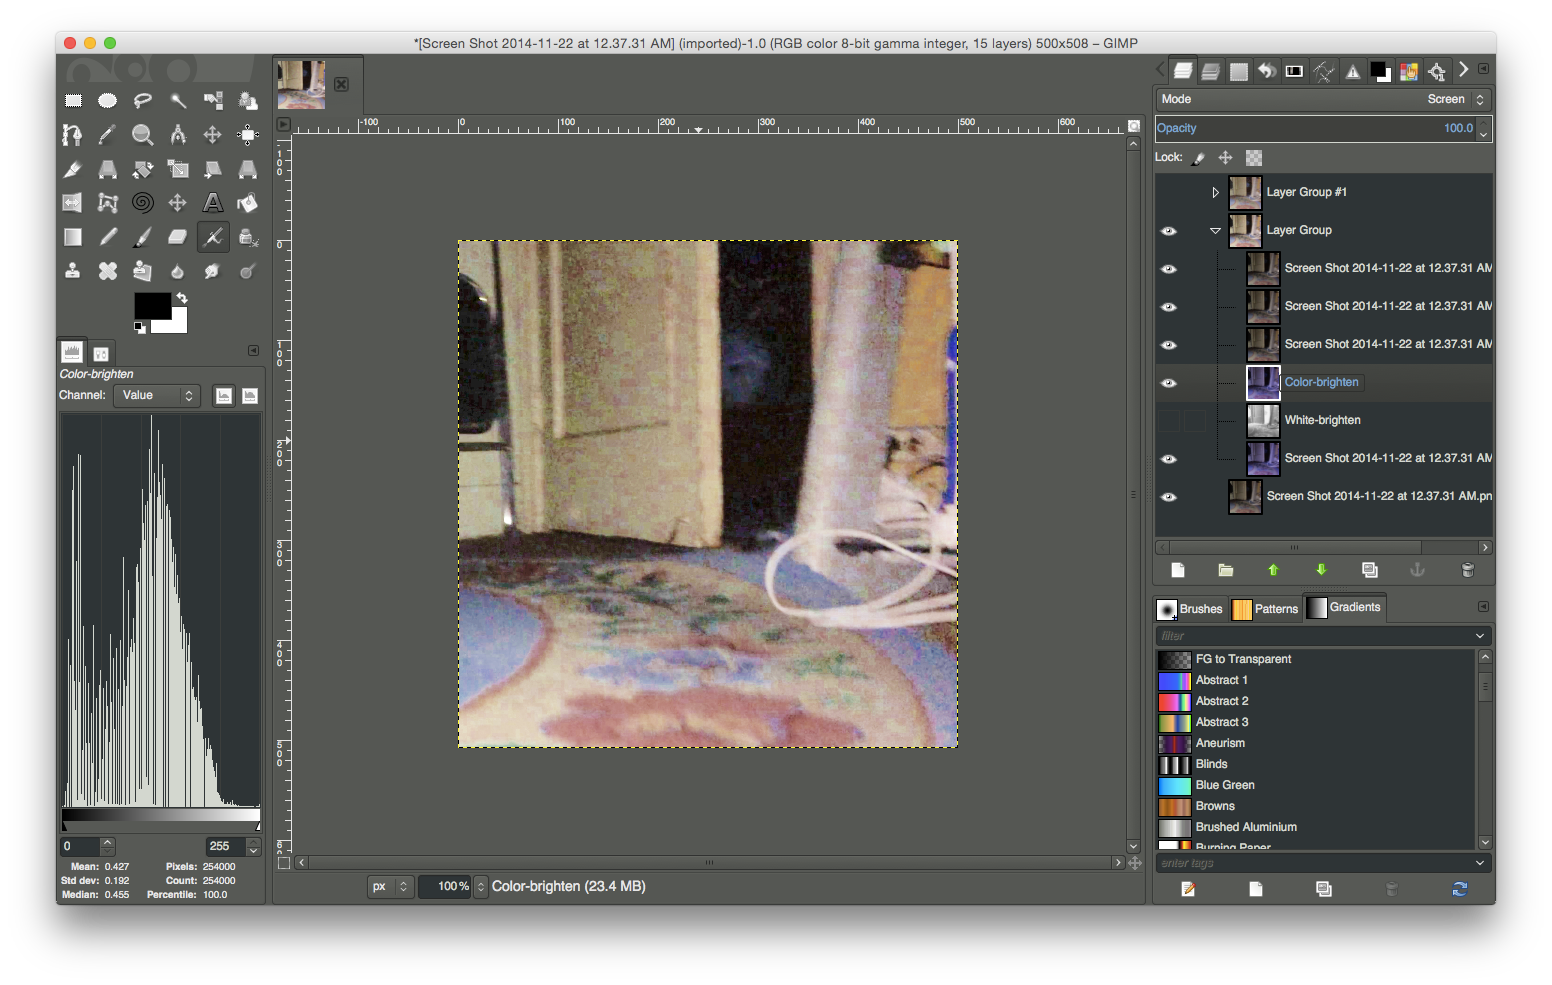 |
| Choose between two optional-display layers in the first layer group to add further demon-mapping enhancements |
Following are still frames that were processed by the above script, grouped into four images per row, and grouped into two rows—on top, the amplified blue channel versions; on bottom, the corresponding originals:
 |
| Still frames 1 through 4, new on top, original on bottom |
 |
| Still frames 5 through 8, new on top, original on bottom |
 |
| Still frames 9 through 12, new on top, original on bottom |
 |
| Still frames 13 through 16, new on top, original on bottom |
 |
| Still frames 17 through 20, new on top, original on bottom |
 |
| Still frames 21 through 24, new on top, original on bottom |
 |
| Still frames 25 through 28, new on top, original on bottom |
To see more enhanced versions of the demon's image, and to compare them to the originals, click a row of images to enlarge it.
This video shows all 28 enhanced still frames in succession (0.5 second apart), cropped for a closer look at the demon:
Another video, which was enhanced with the latest update to the script, shows a yoda-mouthed, ET-foreheaded and Gizmo-eyed blue-shift demon, talking (bottom-right):
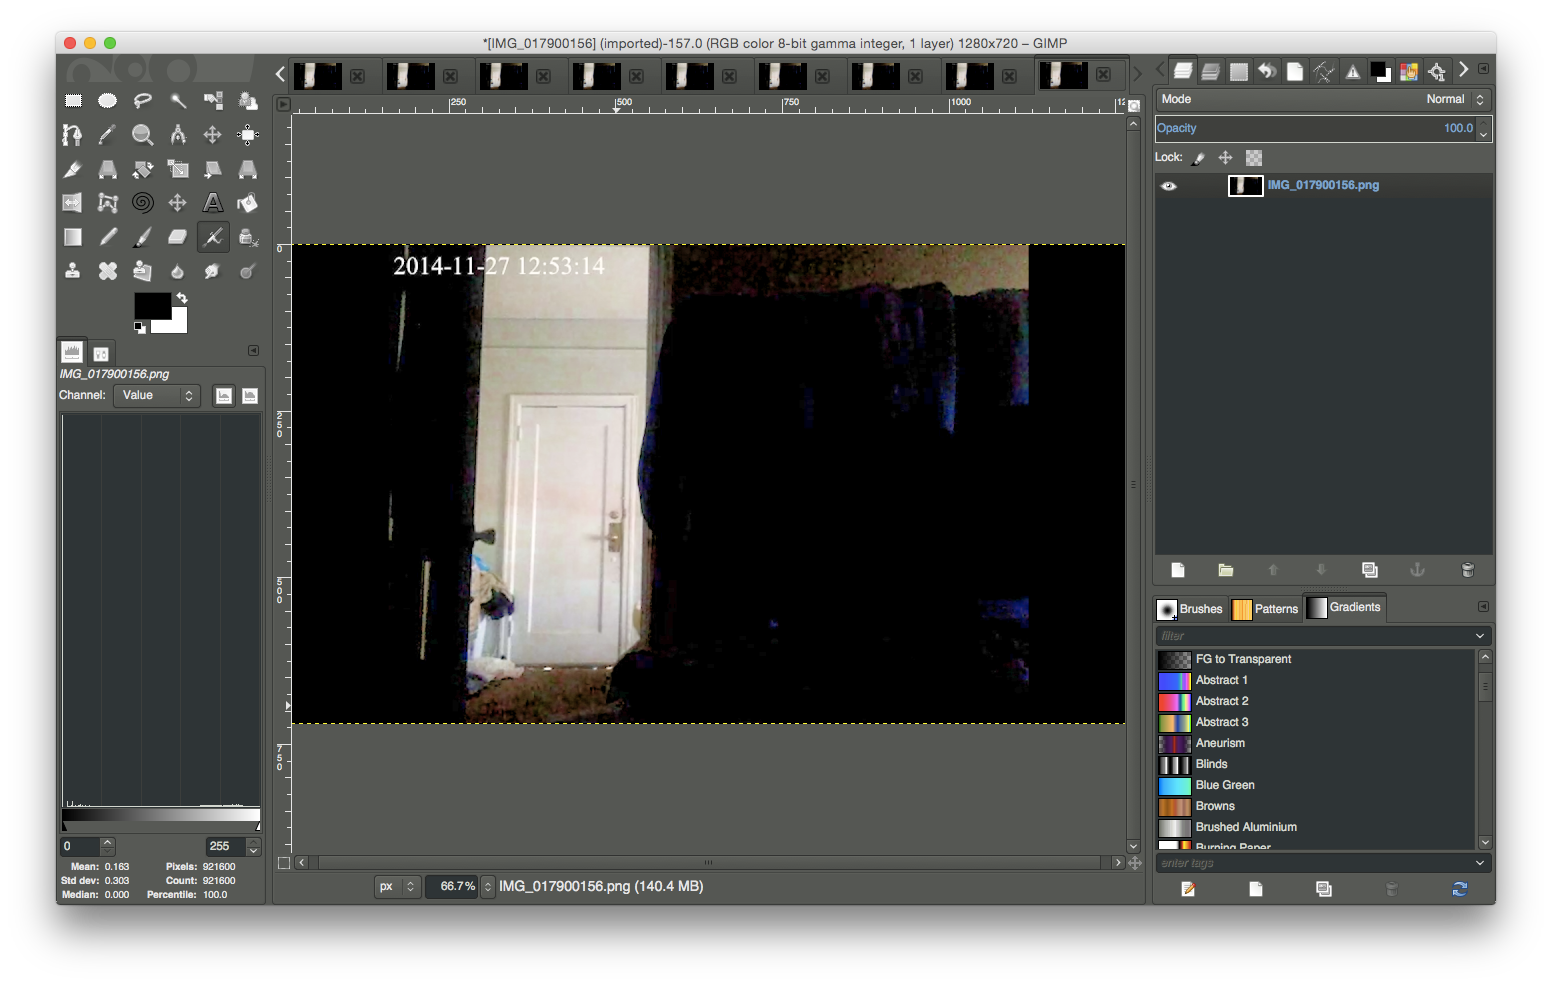 |
| Far from perfect, but at least the demon on the bottom-right was found—and found to be talking [click to enlarge] |
This video compares two versions of that same video, picture-in-picture: the original (on bottom), and an enhanced version (on top), which image-maps the talking head of a demon, as shown above. This is a very preliminary enhancement, designed for the time being to only detect very-hard-to-detect hidden demons in digital video (realistic enhancements are forthcoming; but, discovery was made priority first):
Notes on further enhancements to the Blue-shift demon-cloak detection script
Having found something useful on the blue channel, I was wondering if the remaining channels can be used in someway, and if the differences between the original image and the blue-screened image can be leveraged in another way to enhance the appearance of such demons even further; I've seen such things before, particularly in
dental radiology.
So far, it turns out it can—at least a little bit—by inverting the difference between the original image and the blue-screened images, the demon can be seen much more clearly:
Unfortunately, the image is now washed out and overexposed; but, like color-shifting after screening the blue channel, I think this can just as easily be fixed. It's just a matter of learning how.
Here's the result of a similar operation, in which the product of the aforementioned difference between the original and the blue-screened images is inverted, and then subtracted from it:
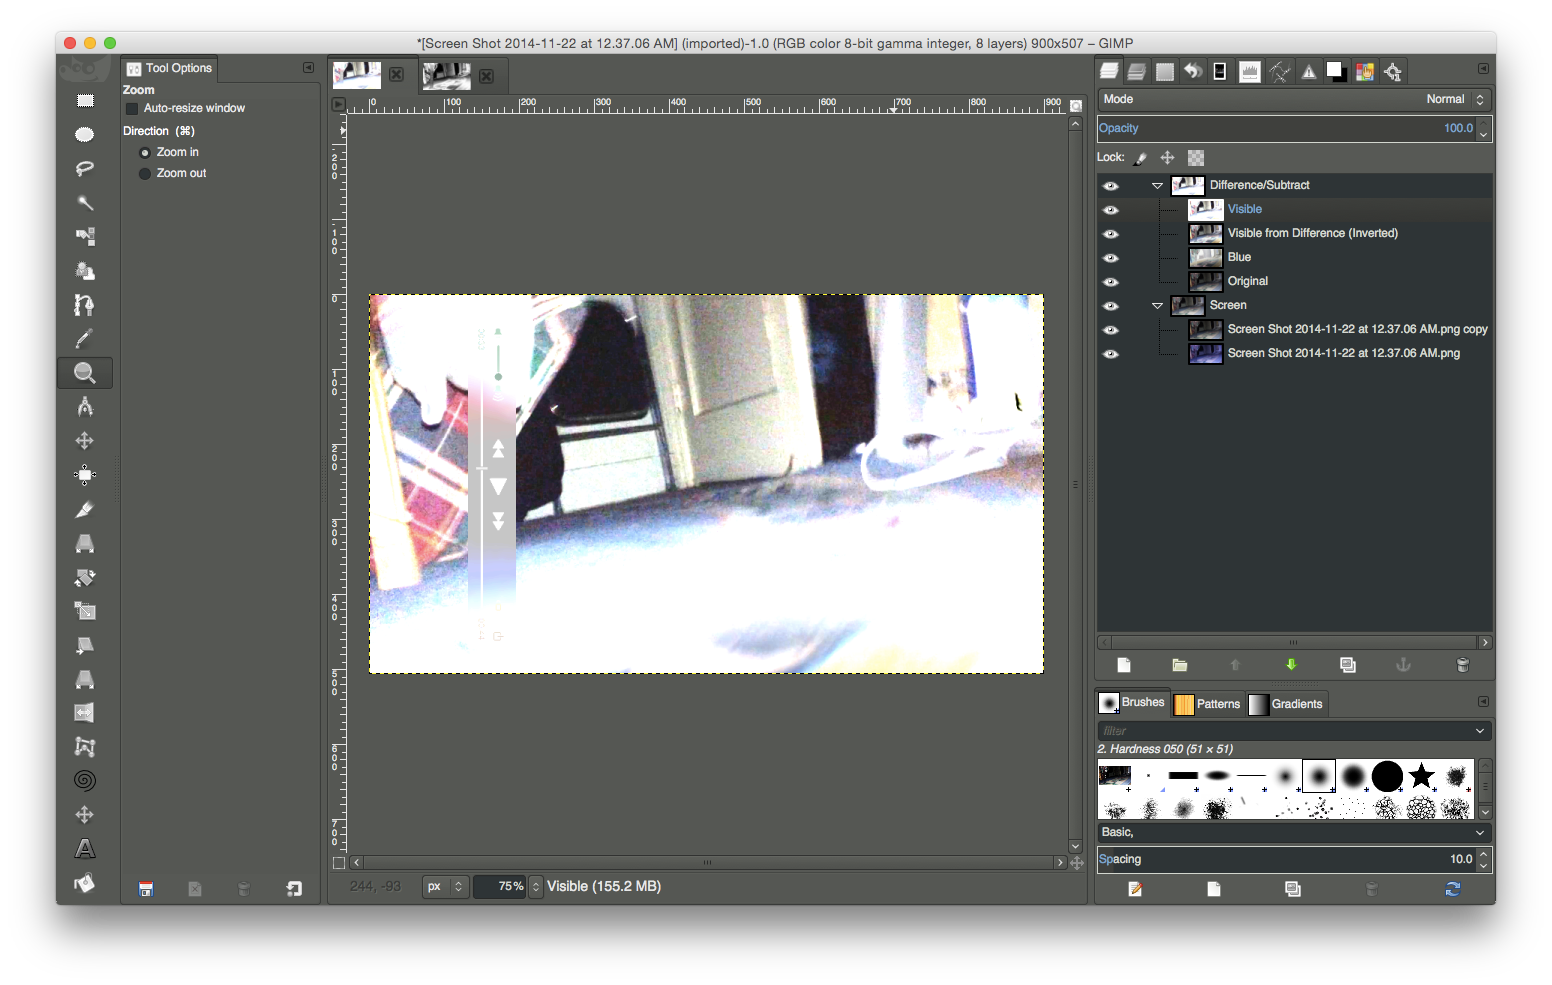 |
| The fact that the demon improved without defect, and the relative integrity of the remaining portions of the image are intact—aside from overexposure—indicates that an easy fix is possible without diminishing any gain |
Again, the demon is more clear; but, also again, the image is way overexposed.
False-color images
A false-color image is an image that depicts a subject in colors that differ from those a faithful full-color photograph would show:
 |
| Decomposing the image into wavelets (or subsets of the image's total frequencies) produces a false-color image |
The term false-color is typically used to describe images whose colors represent measured intensities outside the visible portion of the electromagnetic spectrum (ie. invisible to the human eye). Color astronomical images are usually false-colored, though the term false-color is misleading here. Coloring an astronomical image involves the careful selection of colors chosen to represent some characteristic in an image, such as intensity, energy or chemical composition. "True Color" images translate intensity information from the invisible to the visible by assigning colors to individual images and combining them:
 |
| One attempt at true-color imaging produced the right color, but way too much of it |
The colors chosen, usually Red, Green and Blue are usually mapped according to wavelength such that the longest wavelengths of light present in the image are mapped to Red, while shorter wavelengths move through Green and Blue. The colors selected are representative of the physical processes underlying the objects in the images, and display in a single image, as much information as possible that's available from the data; think of it as "representative color". Raw, grayscale image data are transported into image analysis software where adjustments are made to emphasize the individual features or processes that scientists are interested in - or enhanced for aesthetic purposes. It is important to note that at no point in this process are the images modified to create something that isn't already present in the data. Astronomical image processors maintain a careful balance of art and science enhancing the image while meticulously preserving the integrity of the data.
Images taken by telescopes that observe at the "invisible" wavelengths are sometimes called "false color images" or "representative color images."
 |
| My "telescope" |
That is because the colors used to make them are chosen to bring out important details. The color choice is usually a combination of what works best to show the data, as well as aesthetic choice. The color selection is used as a type of code in which the colors can be associated with the intensity or brightness of the radiation from different regions of the image, or with the energy of the emission.
[see also How can I make a color composite image using Spitzer and/or other data?]
Script revisions to account for deep-in-the-dark demons
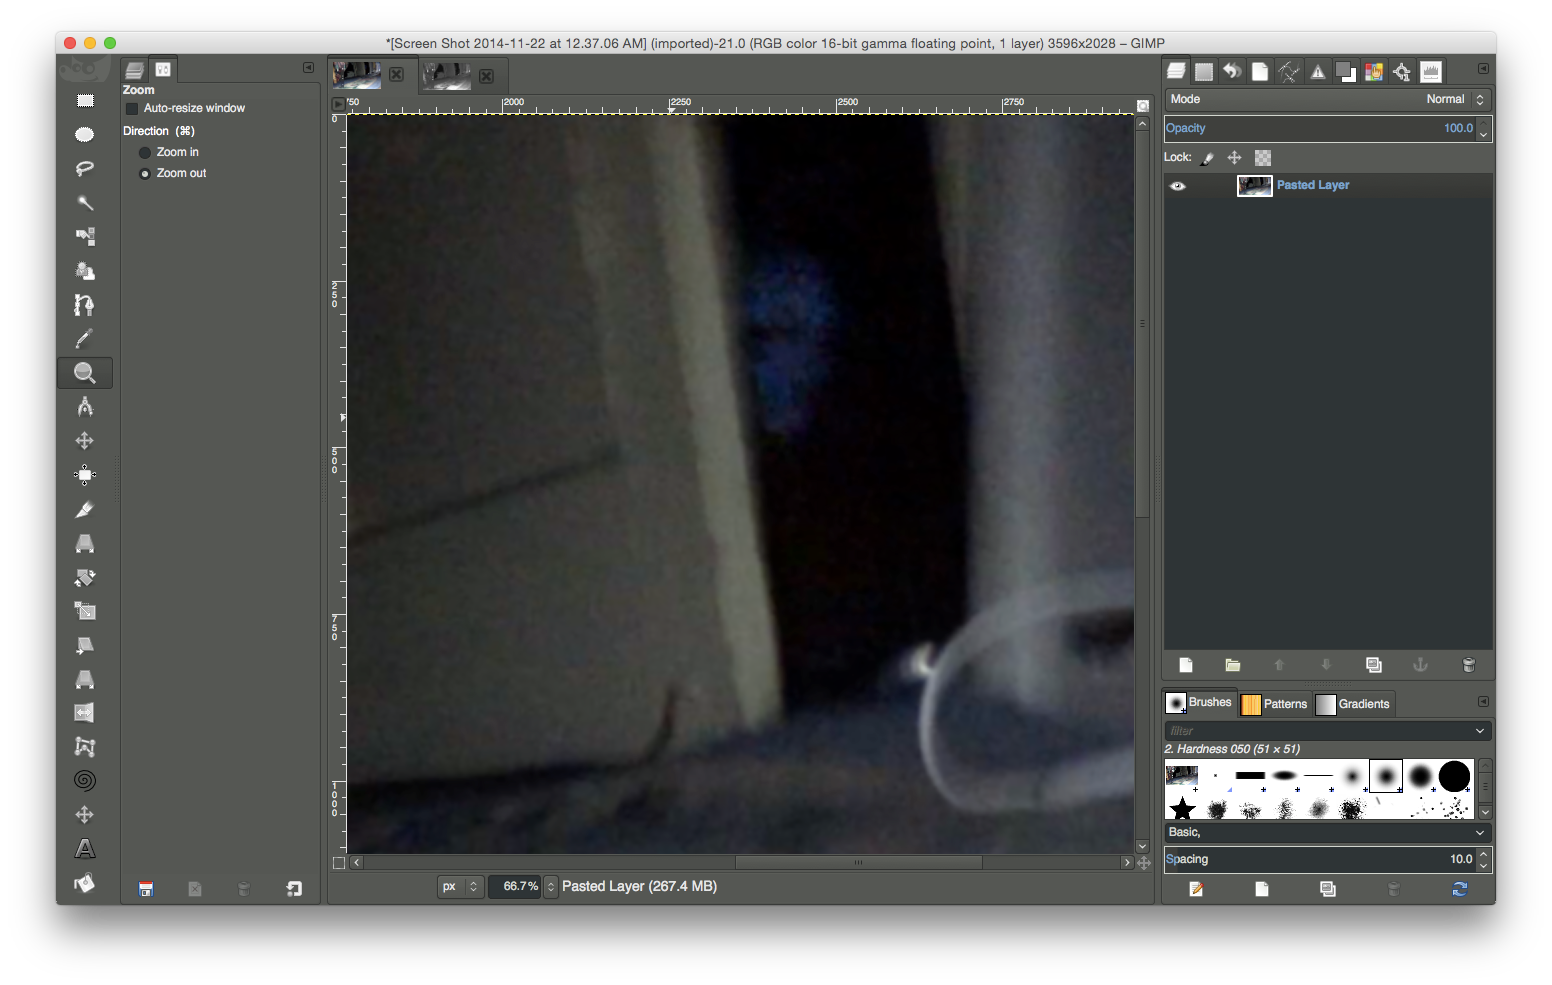
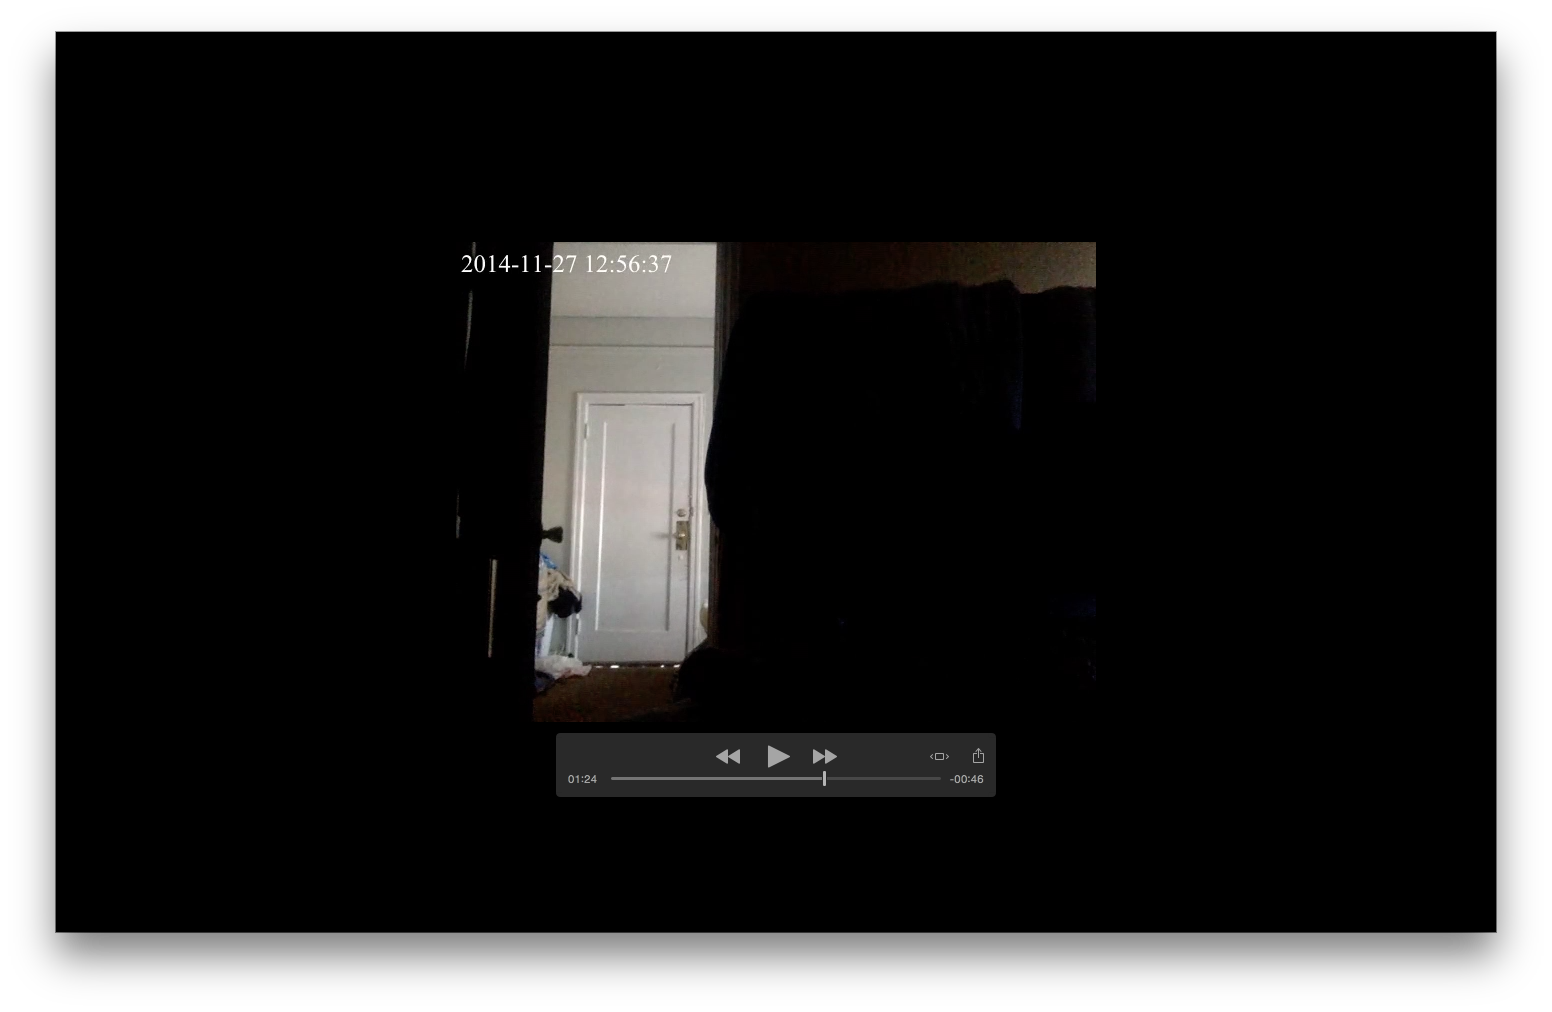
A second script is in development to map demons deep in the recesses of the darkest parts of video footage made during a period of high demonic activity; an iteration of it is shown above, but, as shown below, improvements are underway:
 |
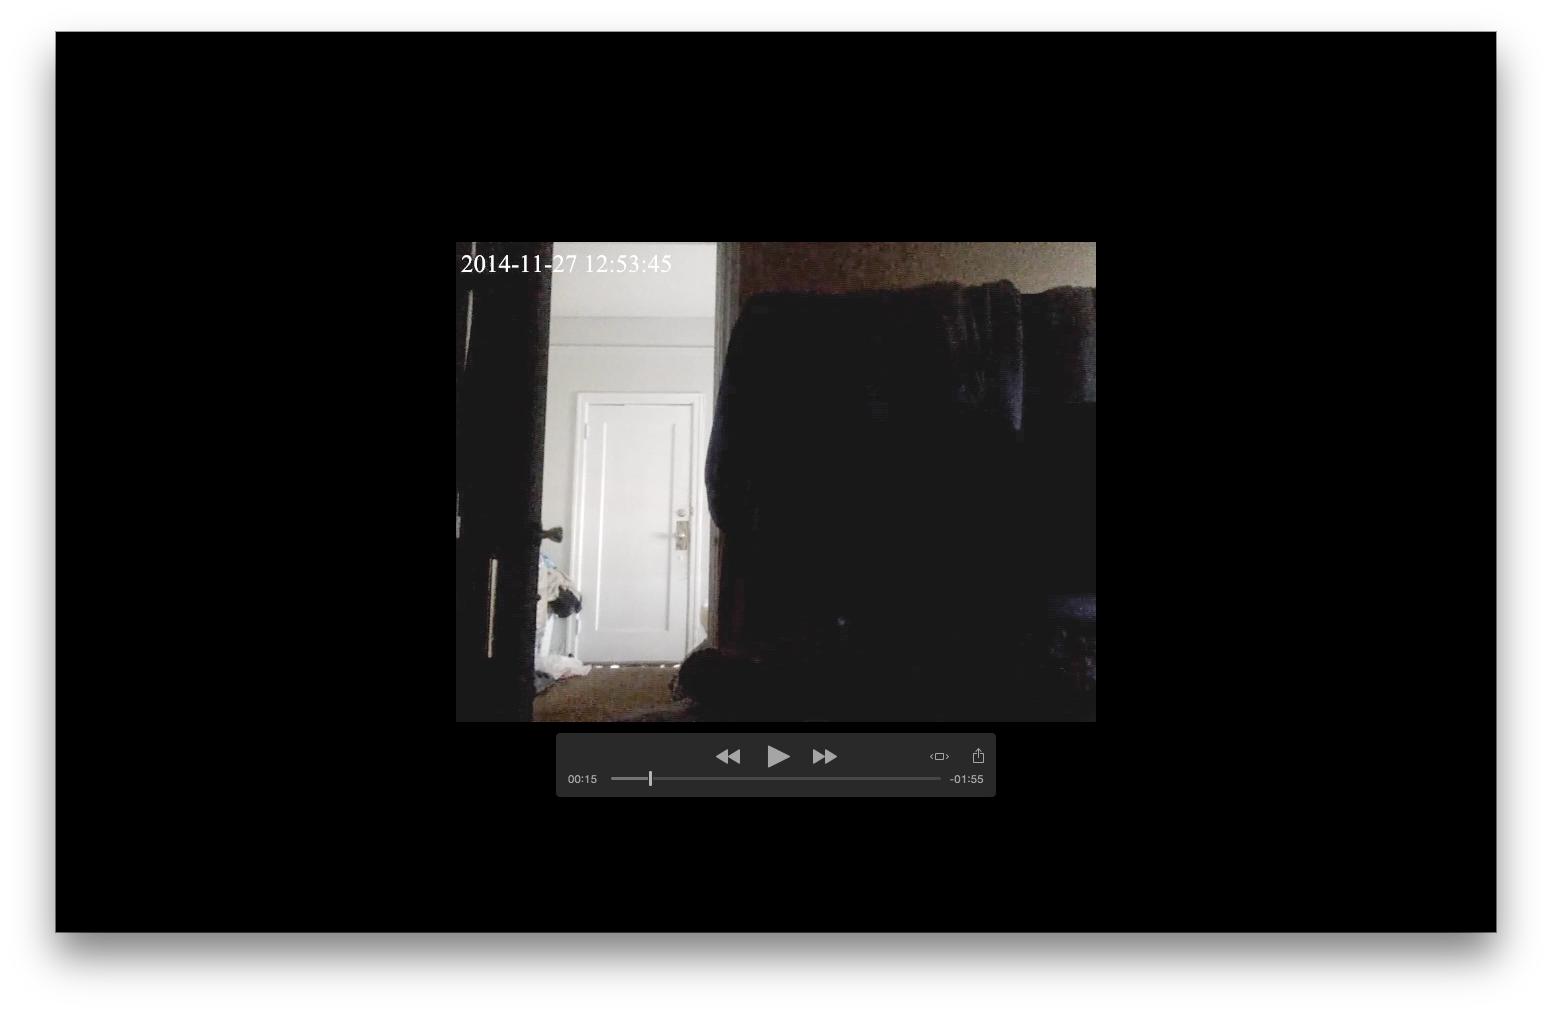 |
| Before | After |
It's hard to believe that a somewhat largish head (considering the height) of the demon was that close to the camera, yet was undetectable without special image processing. That, however, is the nature of the demon cloak (which, surprisingly, is less effective in the dark, which is why the camera picked up so much image data from it).


