In
Enhancing images showing demonic attack using Photoshop CC, I provided instructions for using Photoshop CC to enhance images in which demonic weapons are shown attacking a target (i.e., me); and, while I pointed out that there might be many ways to enhance an image, those captured using the
panning-camera/motion-blur digital camera effect require adjustments to your approach to account for semi-transparent, fast-moving demonic weapons, motion-blurry subjects, and excessive color noise due to the low exposure inherent to shots made in places where demonic attacks usually occur.
That, by the way, is usually at night or in a darkened room or area; and, in the case of the video used in this post, the darkened area is a bathroom stall:
 |
| The black, two-pronged demonic weapon spears into the back of my head, just under the ear on my right side |
The post provides instructions for using After Effects to enhance a video of the attack in which multiple demonic weapons can be seen spearing in and out of the back of my head and neck [
see VIDEO/PICS | Demonic "bombs" define territory and confinement areas;
see also TECHNOLOGY | Problems caused by demonic radiation to digital cameras also detects demonic weapons].
The instructions in this post for enhancing the video in After Effects are
almost identical to those for
enhancing the image of the other demonic attack in Photoshop, although they are—believe it or not—slightly easier to follow, and there is one less step. The goal, however, is exactly the same, in that the weapons will get sharper borders and more distinct contrasting from the remaining subjects in the video, while the excessing color noise that was introduced when the video was brightened will get reduced. All three objectives can be satisfied in just two simple steps, which involve:
- Using the Emboss effect to sharpen the weapons' borders and increase overall contrast; and,
- Using the Remove Grain effect to further sharpen borders and increase contrast, and to remove excess color noise.
A. Sharpening and Contrasting with the Emboss effect
- Duplicate the original video layer (above).
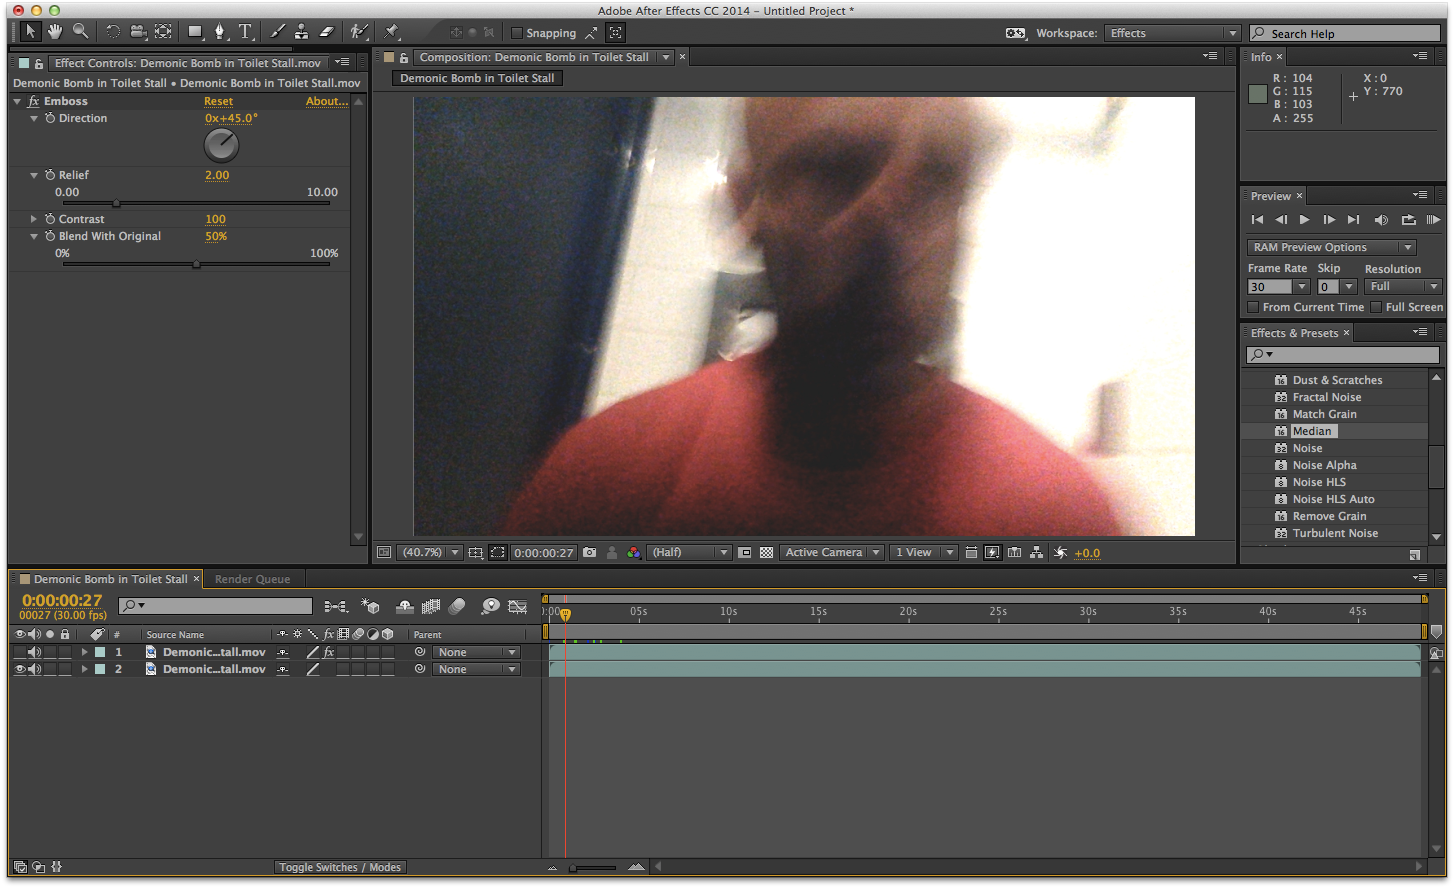
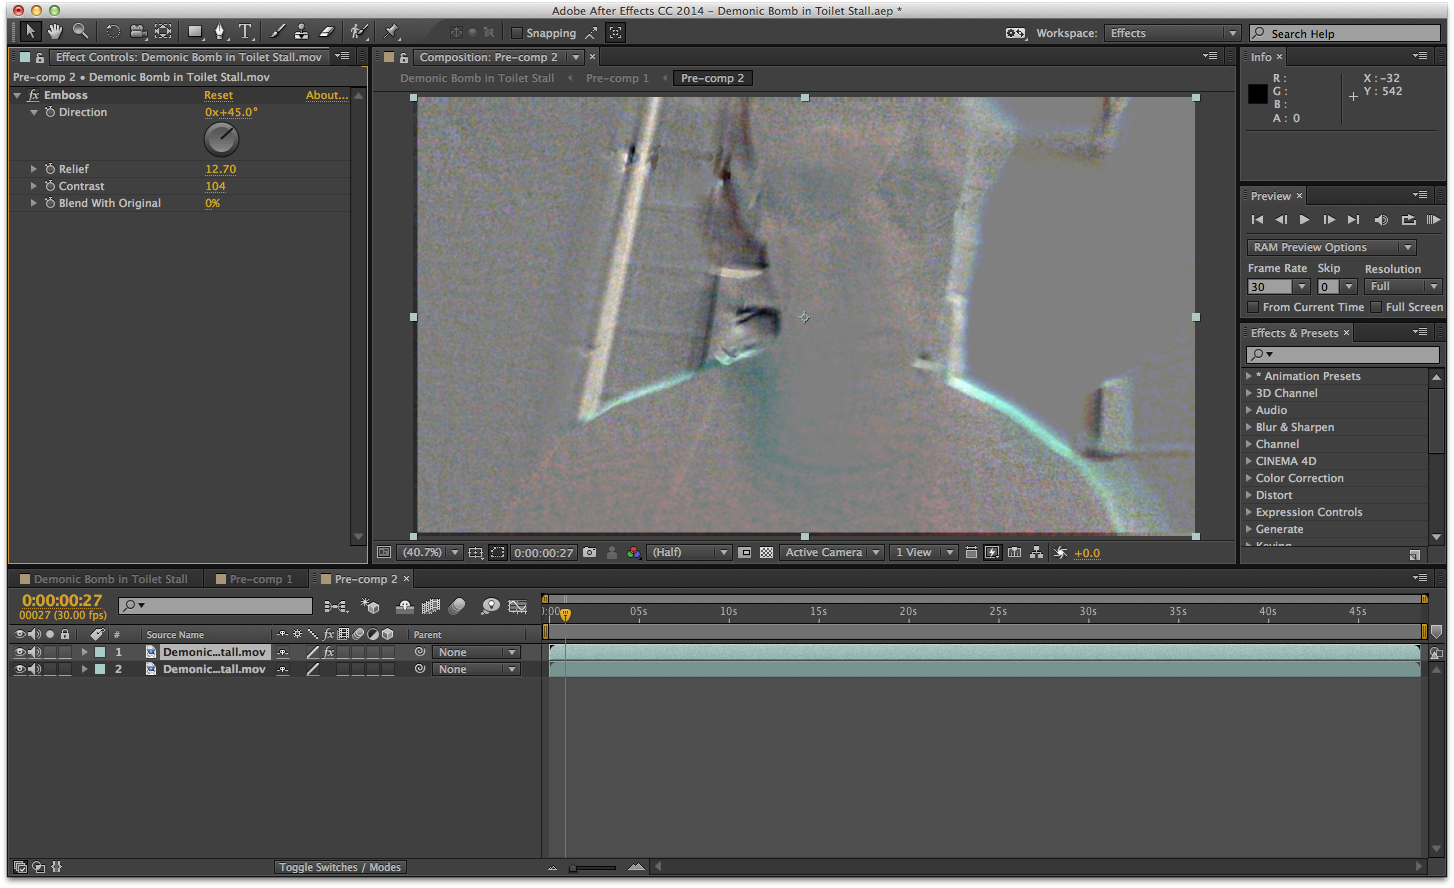
- Apply the Emboss effect, adjusting the relief and contrast settings so that the border of the weapon can be seen clearly and distinctly:
 |
 |
| Anywhere from a sharp emboss... | ...to a subtle emboss will work |
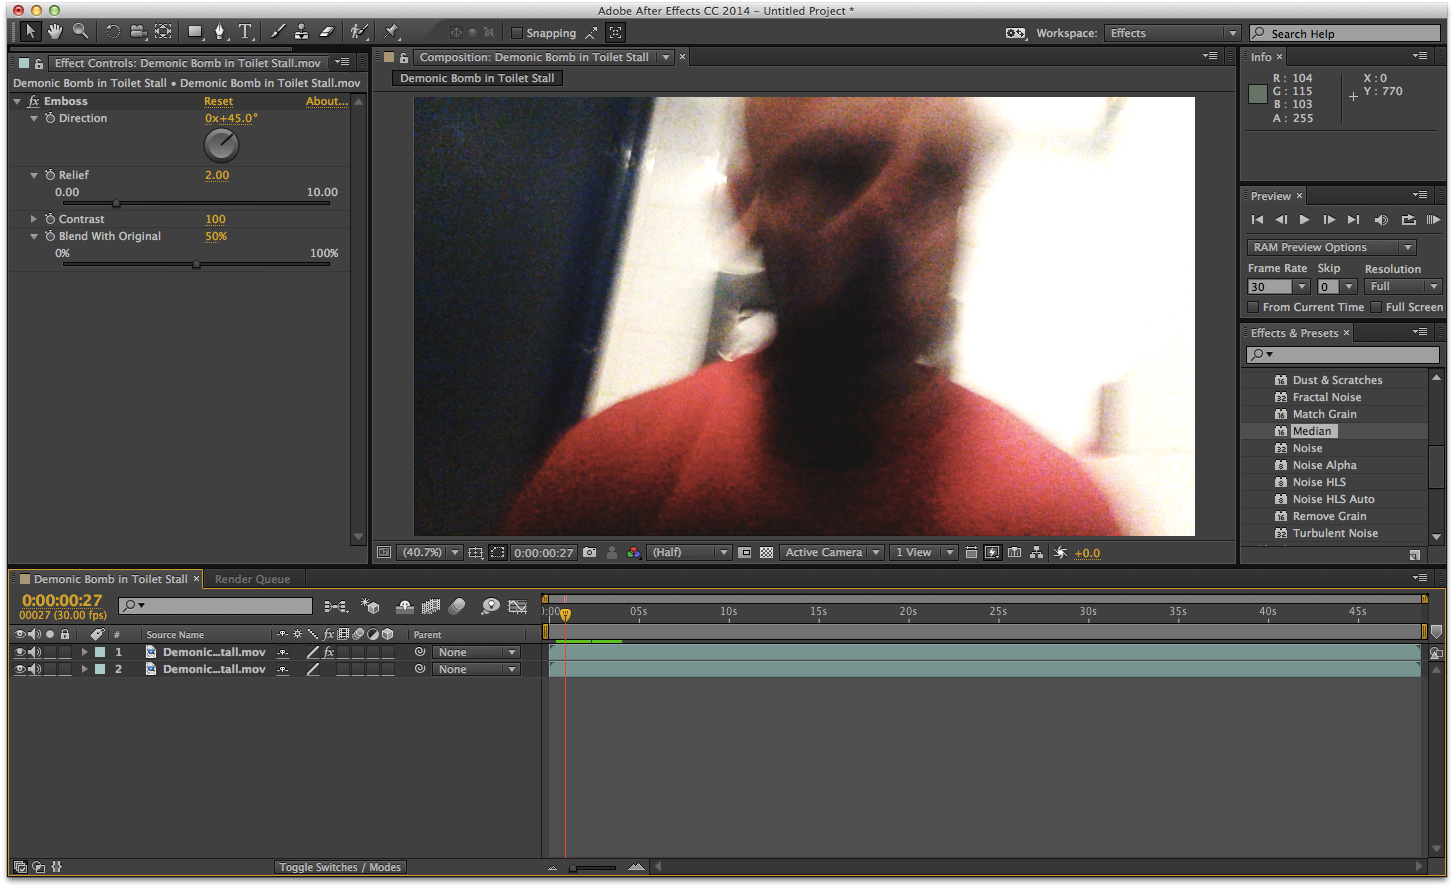
- Set the blending mode of the Embossed layer to Hard Light, and then blend the Emboss effect with 50% of the original.
 |
| The contrast and sharpness of the weapon has increased, but so has the color noise |
B. Reducing color noise, further sharpening and contrasting with the Remove Grain effect
- Pre-compose the two layers.
- Duplicate the pre-composition.
- Apply the Remove Grain effect to the pre-composition, and increase the Unsharp Mask amount and radius of the effect.
- Set the blending mode to Luminosity (or, for greater noise reduction, set the blending mode to Normal).
 |
| The Remove Grain effect greatly reduced the color noise, while increasing the contrast and sharpening of the weapon |
Using the black, two-pronged weapon shown in each still frame of the video as a reference, let's compare the enhancements applied by each step, side-by-side:


.png)
.png)
.png)