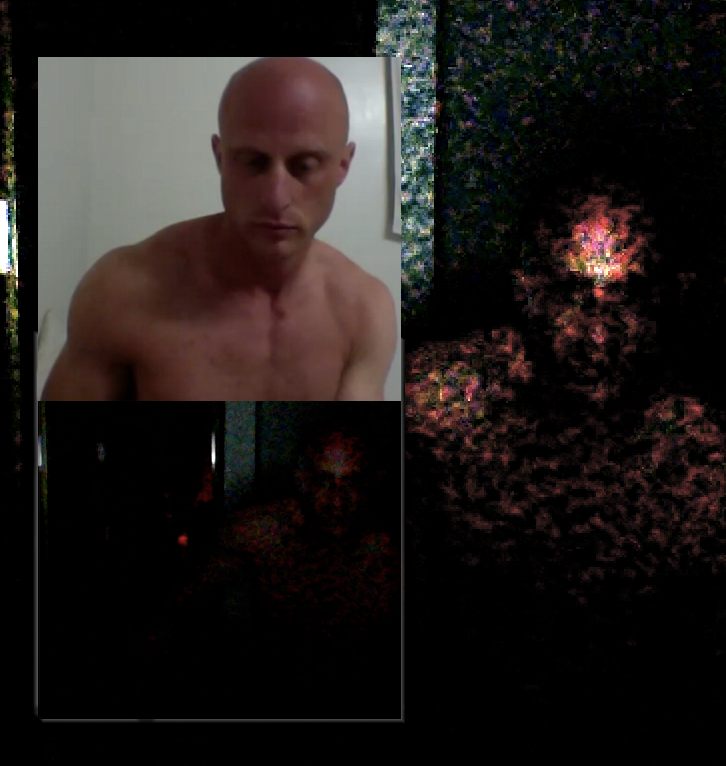
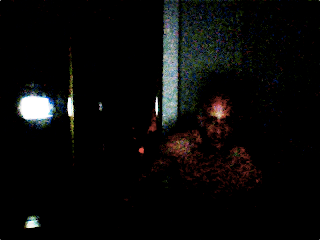
These instructions show you how to use GIMP to highlight demons that are possessing you, which are sometimes revealed in video shot in partial darkness. A real-world example is used, particularly, a still frame from a video shot of me in the dark about a week ago:
 |
What I looked like in the light on the same day the darker image below was made;
in the dark, an entity that does not resemble me in any way, shape or form appears |
The above is a demon possessing me at a time when a hyperdimensional portal was opened in my apartment.
NOTE | To see what a room looks like when a hyperdimensional portal opens into it in the daylight, see VIDEO | A room in which a portal from Hell opened.
How do I know that the demon's face in the video still frame isn't your face with the flashlight-under-the-chin effect on it?
When you process some still frames in GIMP, my face doesn't line up with the demon's face at all. This will be more apparent as I process more still frames from other movies.
Why can I see the demon's face, but not yours?
The demon is both reflecting light and emanating it at the same time. Polarized light combined with reflected light is more light, and makes the demon's face more visible than my face, in that my face is only reflecting light. This was more fully explained in
SCIENCE | The ethereal glow and semi-transparency of cloaked demons explained.
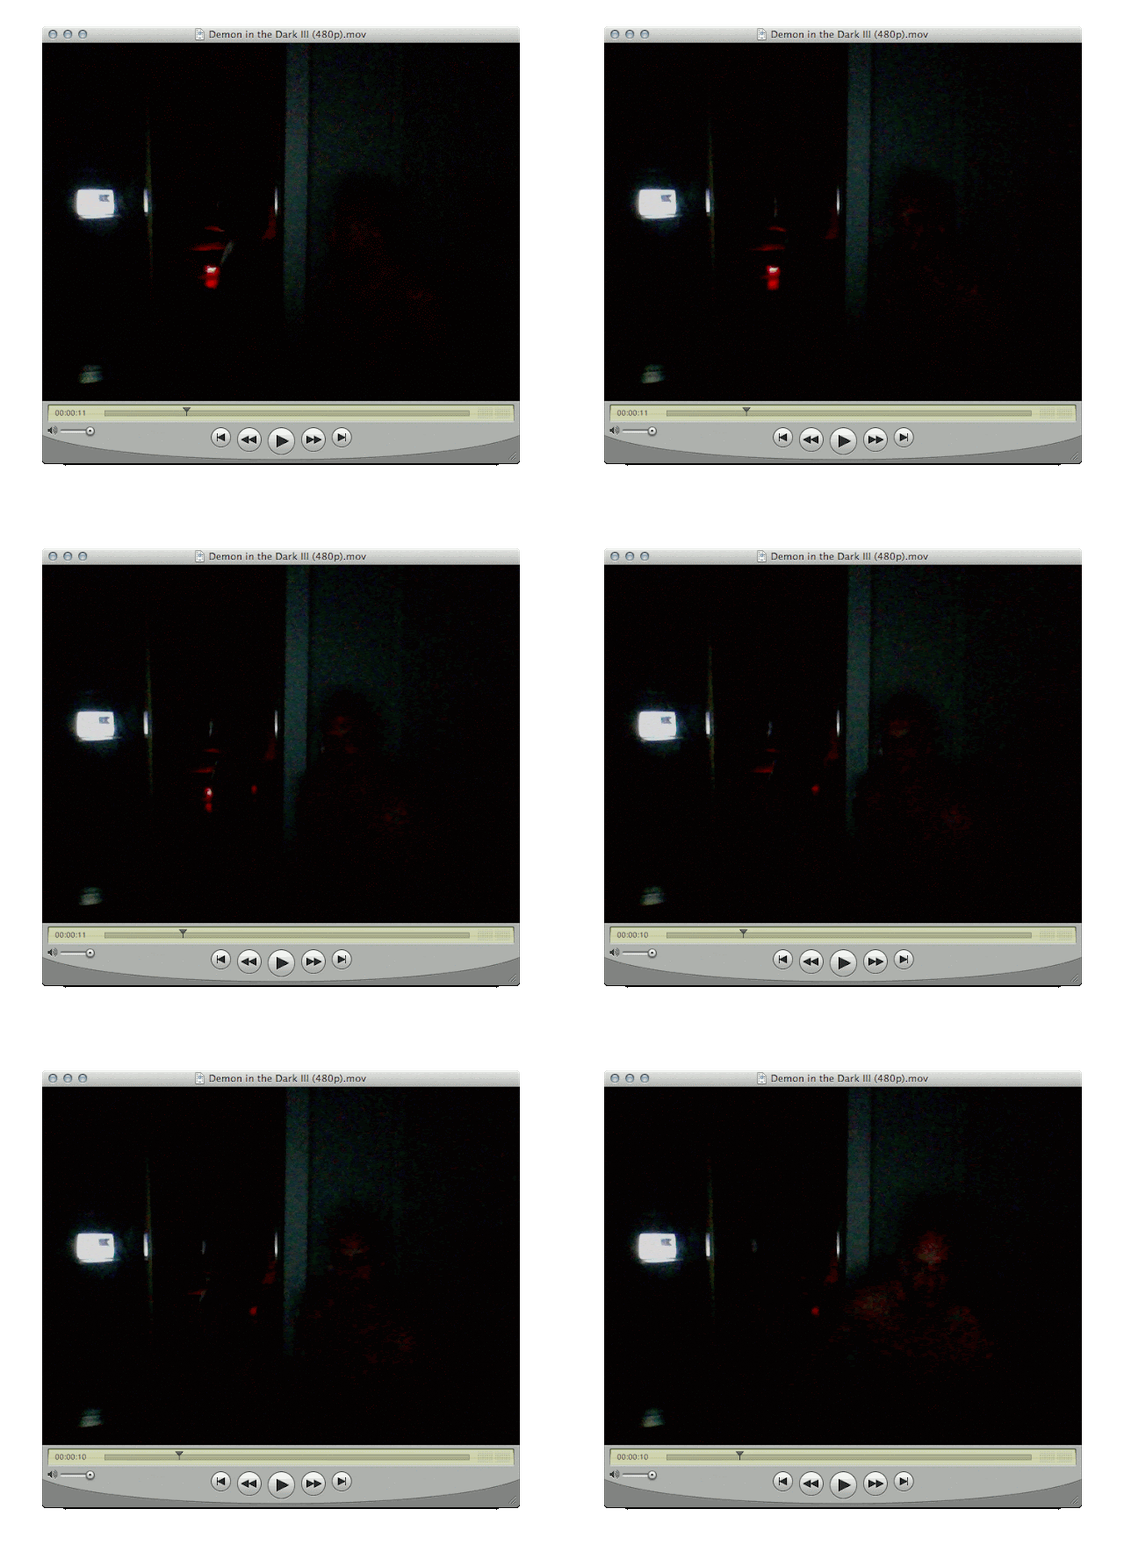
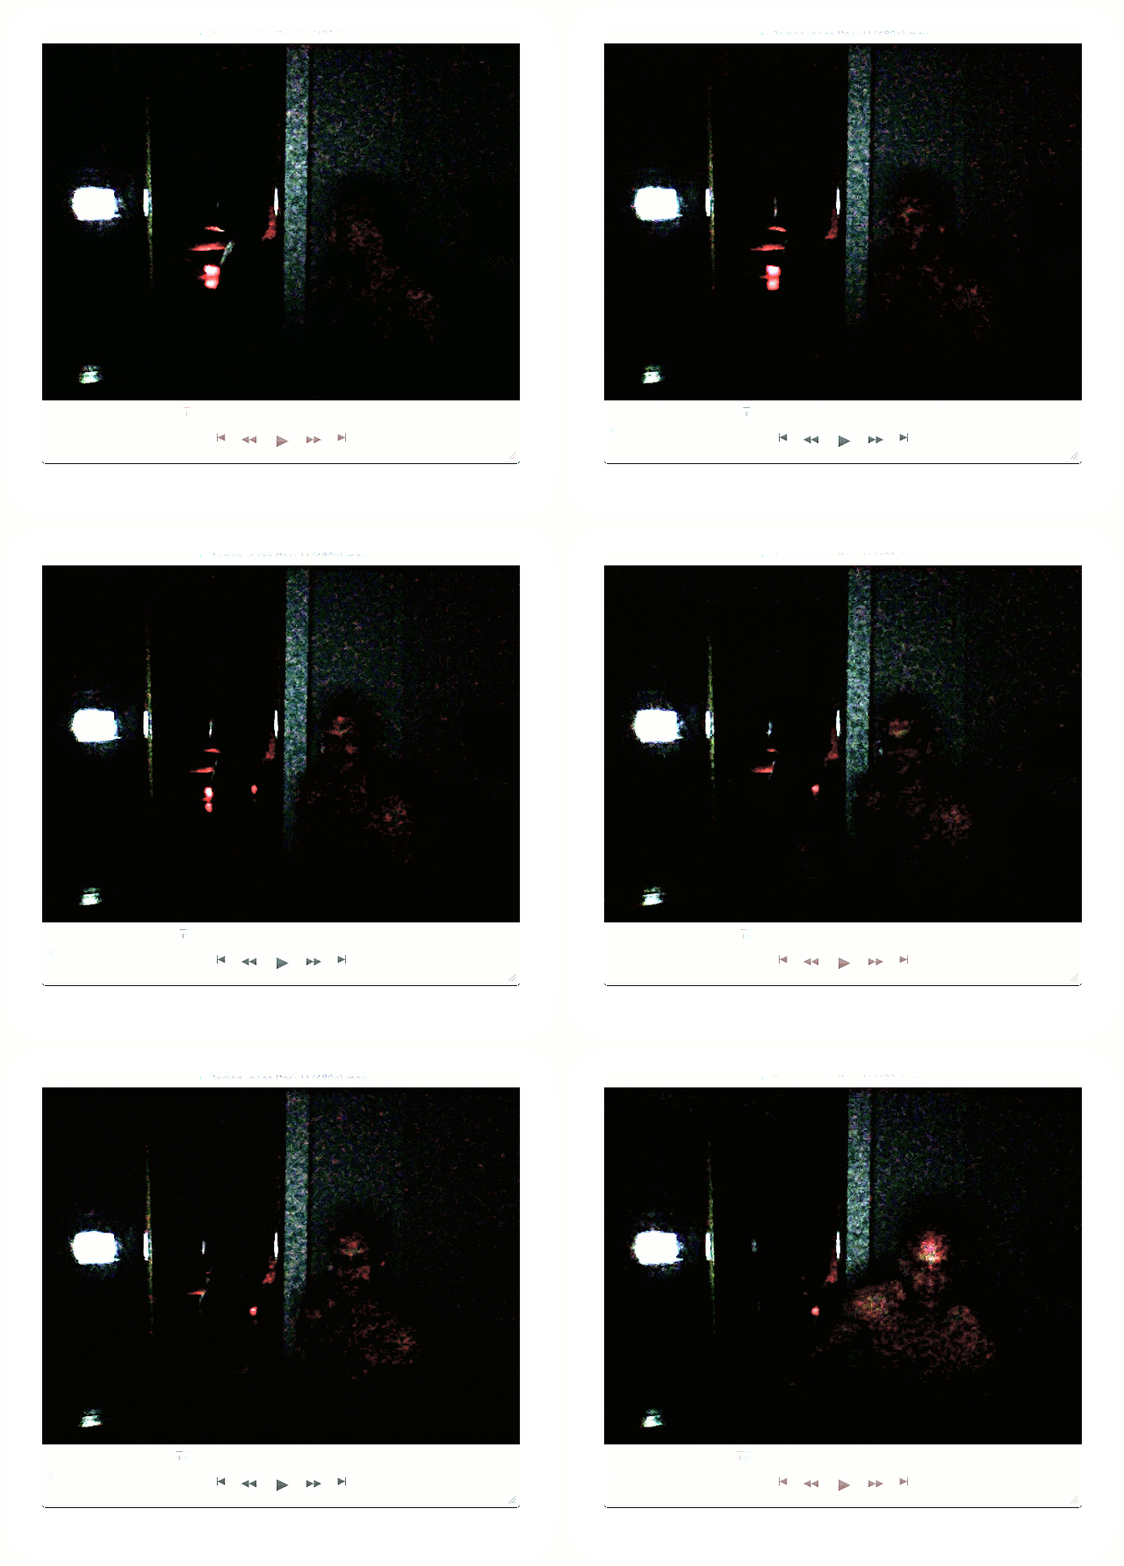
Following is a portion of the video the still frame used in the example (below) was taken from, including both the original and a slightly "enhanced" version:
 |
| Original |
 |
| Enhanced |
Instructions
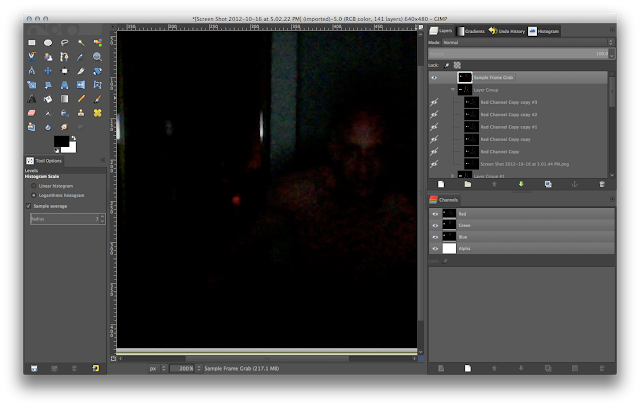
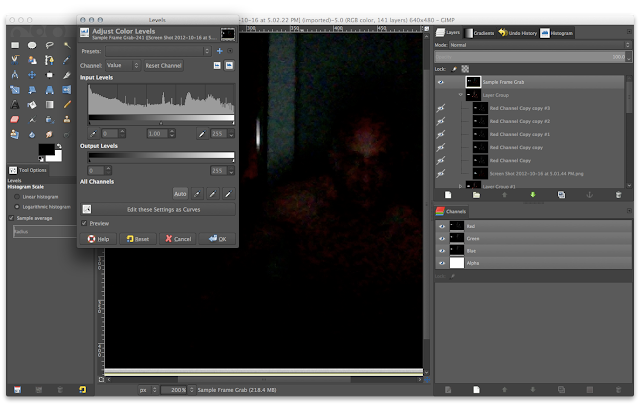
- Open an original, unaltered still frame in GIMP, and select the layer in which the frame is contained:
 |
| Use a still frame that is saturated with red color |
- On the Color Menu, click Levels; then, click the Auto button:
 |
| Using the Auto feature of the Levels command results in a slightly brighter version of the original still frame |
- Drag the Red channel onto the image to create a layer copy:
 |
| The colors of a channel copied into a layer are grayscale |
- Set the mode of the layer copy of the Red channel to Dodge:
 |
| The image color returns to red, and the image itself appears brighter |
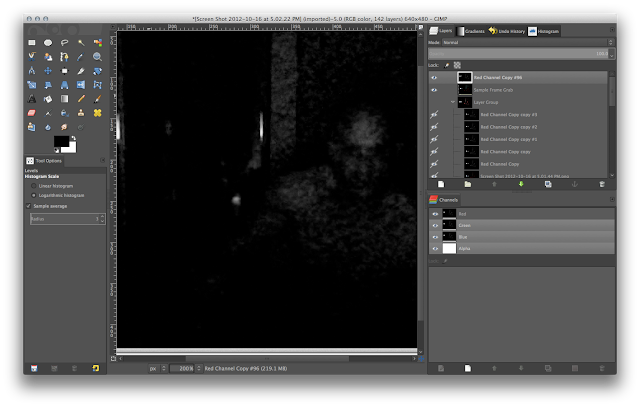
- Duplicate the layer copy of the Red channel approximately four times:
 |
| Stop duplicating the layer copy of the Red channel when the image (or a portion thereof) becomes too bright |
- Set the mode of the top layer copy of the Red channel to Addition; repeat for each layer until the demon is fully revealed, starting with the second to the top layer, working downwards:
 |
| Addition fills in the dark spaces by spreading out the red spots without brightening the image |
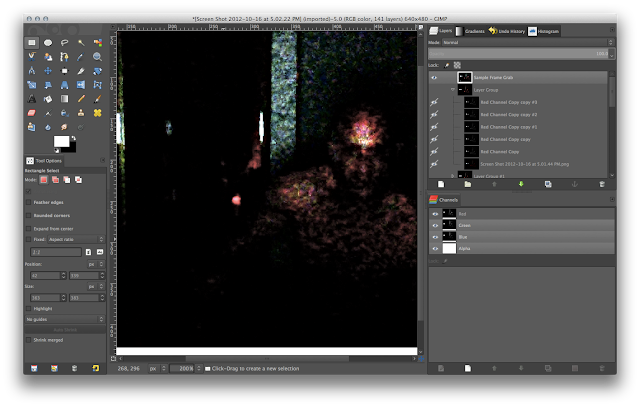
- On the Layers menu, click Merge Visible Layers; then, on the Filters menu, point to Enhance and click Unsharp Mask:
 |
| Use the default settings of the Unsharp Mask filter |
The result is the chroma mask of a demon in possession of a human, as captured on video:
 |
| Compare this to the original still frame, at the beginning of the set of instructions |
Following is the video from which the above still frame was taken:
More instructions for enhancing images of demons
Other instructions for enhancing images of demons and the like can be found in
TECHNOLOGY | Enhancing photos of demons (and the like); for videos showing an example of still frame capture and enhancement using GIMP, see
PREVIEW | Unedited screen recordings show procedure for enhancing blue-light demon photo.
Instructions for using Photoshop
text:
text.
