This post outlines a quick and easy image-processing technique that can be applied to digital media saturated with color noise called chroma, which is a consequence of the EMF interference to CCD sensors in digital cameras by the cloaked state of demonic entities and cloaked equipment.
The challenge is to find cloaked entities and equipment using an image-processing technique that works for all chroma-saturated images, one that can be applied across multiple images (such as frames in a video) without requiring manual adjustments to each.
In short, that amounts to developing a technique that sharpens the chroma in an image while maintaining its original saturation and hue, as well as its overall brightness, which is no small feat. Graphics designers and all others who work with images struggle with overblown brights and colors to one part of a sharpened image and detail-hiding darkness to the other parts.
Not so with the technique described here, as shown by the following screenshots:
As you can see, not only does the image retain its original color and brightness after the enhancements are applied, but it can now be reasonably said to those attempting to acquire their own images of demonic activity that, to get the best chroma imprint, position your digital camera and/or orient the subject so that the image contains partial darkness and partial light, which is actually how you have to do it.
Technique: Finding cloaked demonic entities in three steps
Cloaked demonic entities that are evidenced by chroma in digital images can be rendered using the following procedure (illustrated using GIMP):
Optional: Substituting the Color for Saturation blend modes
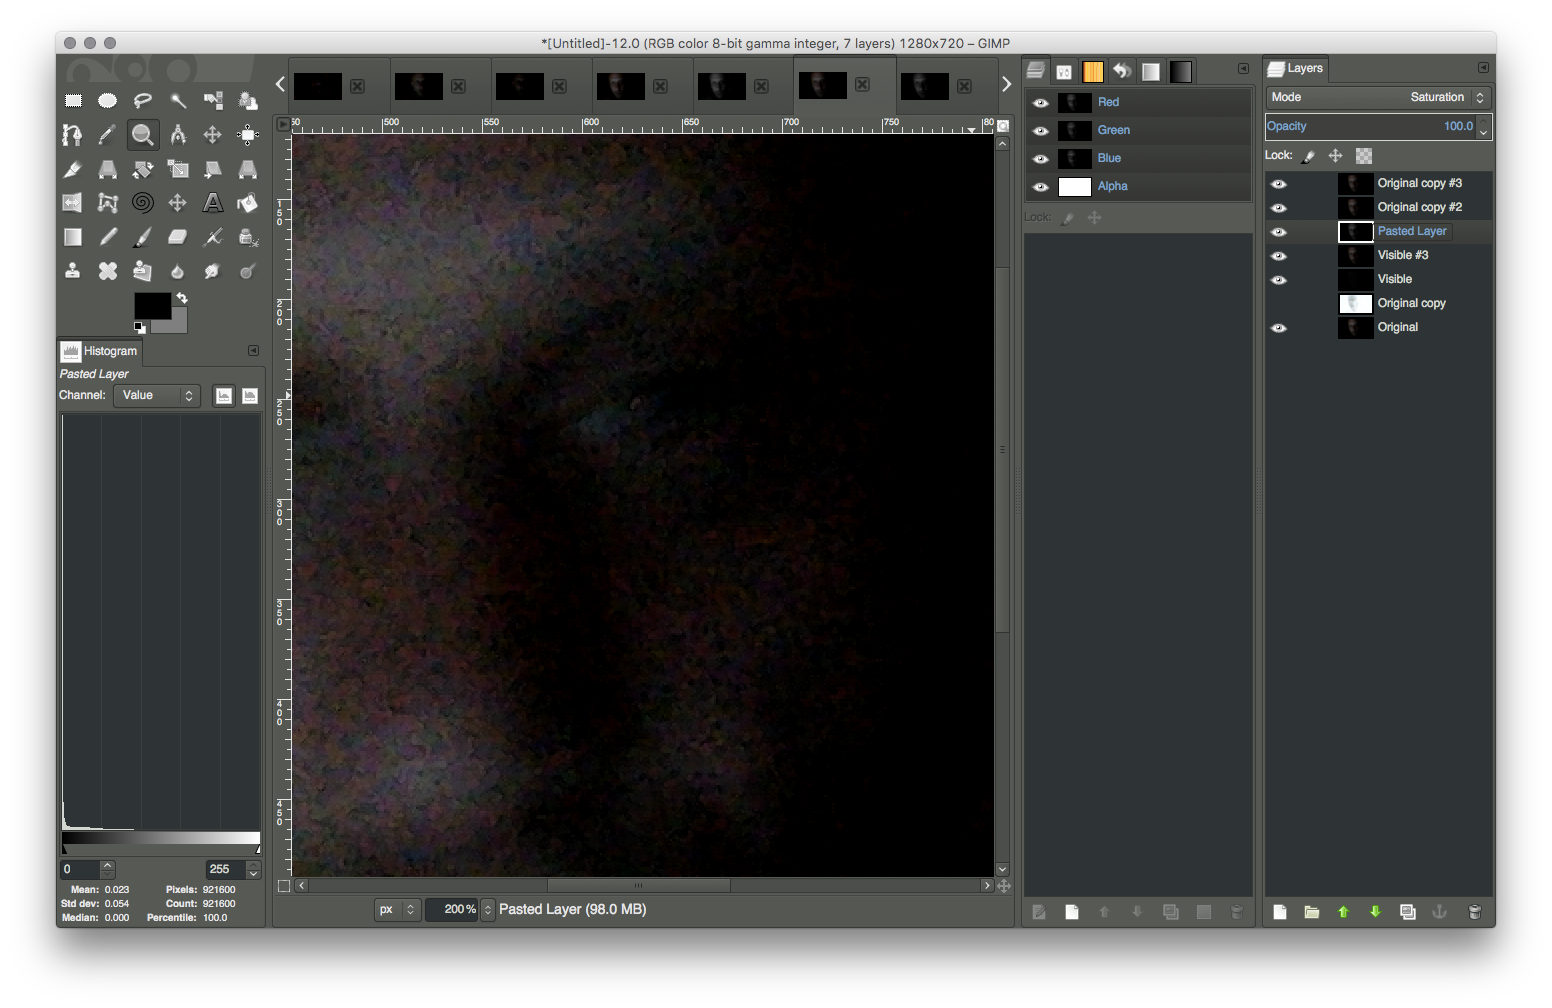
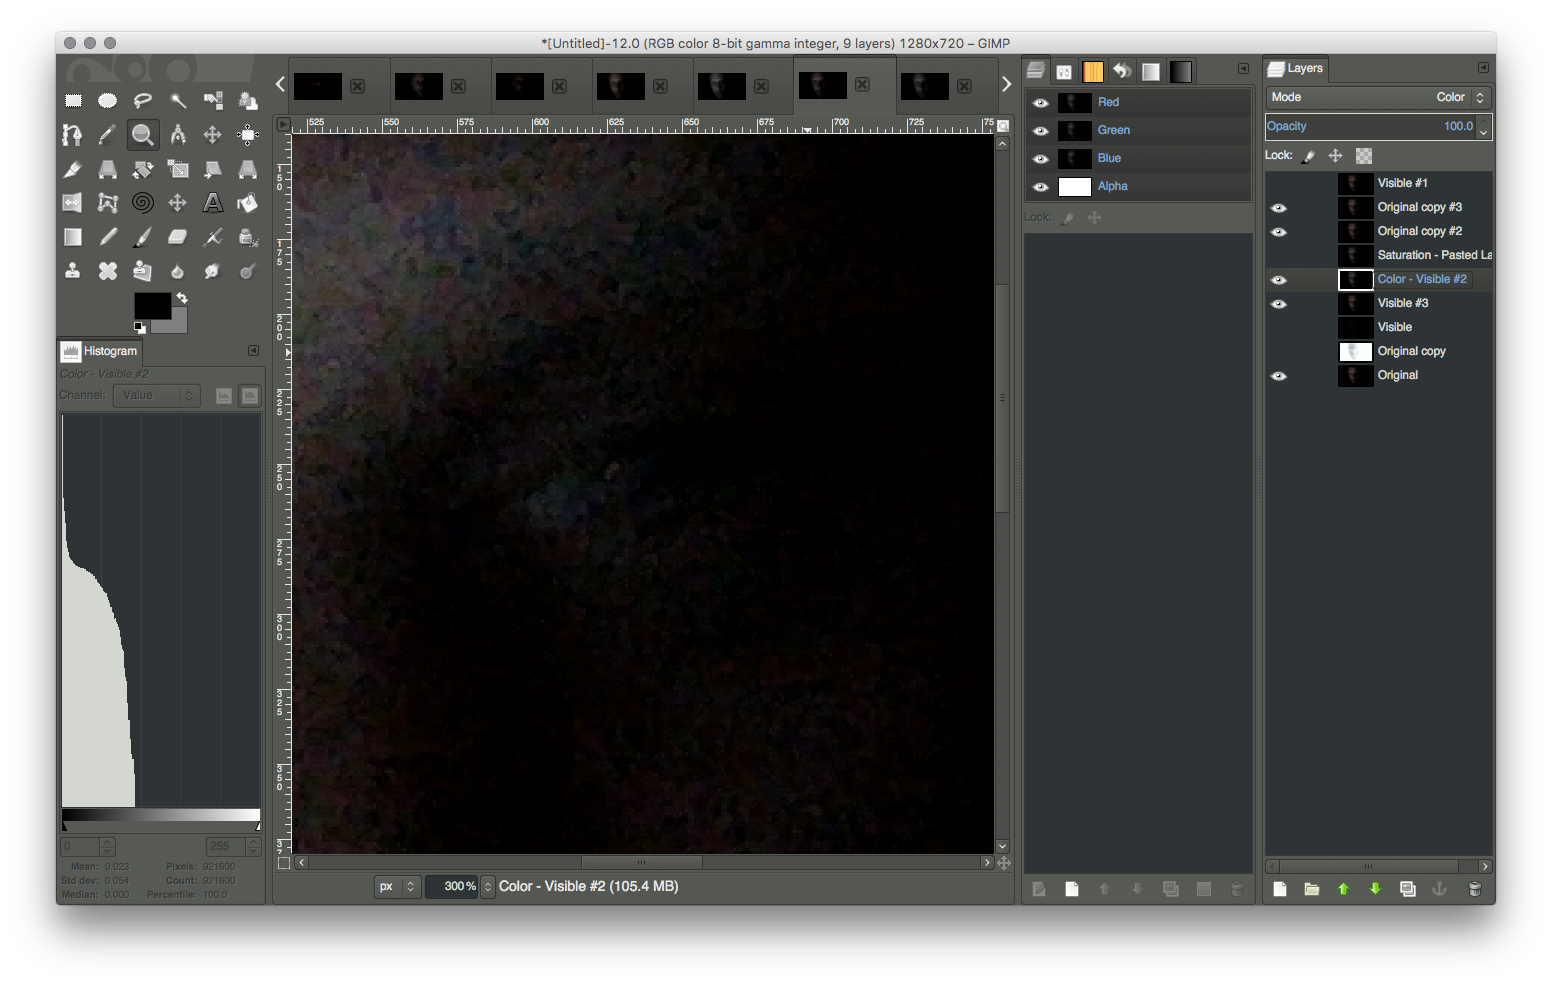
For increased sharpening, substitute the Saturation blend mode with the Color blend mode:
Optional: Invert the dilated duplicate, set to Divide
Instead of disabling the dilated version of the original that was differenced with same, invert it and then set the blend mode to Divide:
Analysis
Once a still frame is processed, they can be analyzed for the source of any problems demons are causing (or intend to cause). In my case, it's blindness by putting cloaked entities on, in and around my eyes; and, in the still frame, you can clearly see a yellow, worm-like entities stretching from my eyelid and onto my eye.
That entity may be invisible to me in a mirror, but is something I can actually feel with my fingers, as well as on my face and eye; and, it is something that is damaging my eyesight.
Coming up...
The same technique, applied to video:
And, another technique for sharpening differences in chroma (check back soon).
 |
| A still frame taken from a video made in semi-darkness during a period of high demonic activity reveals the skin texture of an inner demon |
In short, that amounts to developing a technique that sharpens the chroma in an image while maintaining its original saturation and hue, as well as its overall brightness, which is no small feat. Graphics designers and all others who work with images struggle with overblown brights and colors to one part of a sharpened image and detail-hiding darkness to the other parts.
Not so with the technique described here, as shown by the following screenshots:
As you can see, not only does the image retain its original color and brightness after the enhancements are applied, but it can now be reasonably said to those attempting to acquire their own images of demonic activity that, to get the best chroma imprint, position your digital camera and/or orient the subject so that the image contains partial darkness and partial light, which is actually how you have to do it.
Technique: Finding cloaked demonic entities in three steps
Cloaked demonic entities that are evidenced by chroma in digital images can be rendered using the following procedure (illustrated using GIMP):
 |
Step 1
Dilate a duplicate of the original
|
 |
Step 2
Difference the original and dilated images |
 |
Step 3
Subtract the result from the original
|
For increased sharpening, substitute the Saturation blend mode with the Color blend mode:
Optional: Invert the dilated duplicate, set to Divide
Instead of disabling the dilated version of the original that was differenced with same, invert it and then set the blend mode to Divide:
Analysis
Once a still frame is processed, they can be analyzed for the source of any problems demons are causing (or intend to cause). In my case, it's blindness by putting cloaked entities on, in and around my eyes; and, in the still frame, you can clearly see a yellow, worm-like entities stretching from my eyelid and onto my eye.
 |
| A worm-like entity, stretching from my left eyelid, and down to the eye |
 |
| Same image (above), magnified by %150 |
 |
| Magnified by200% |
 |
| Magnified by 300% |
That entity may be invisible to me in a mirror, but is something I can actually feel with my fingers, as well as on my face and eye; and, it is something that is damaging my eyesight.
Coming up...
The same technique, applied to video:
 |
 |
| Original video | The same video with a prototype of the technique described above applied |
And, another technique for sharpening differences in chroma (check back soon).


